Contents
How To Present Graphic Design Ideas/Concepts To Your Client
5 Mistakes to Avoid While Presenting Your Designs
How To Present Your Design Portfolio With Easy DIY Graphic Design Tools
How To Present Your Logo Designs
How to Present Your Poster Designs
Feature Update: How to Present Your Graphic Design Work to Your Client
Karthik S - October 21, 2021 - Leave your thoughts.
If you're a designer, you need to know how to present your designs. They are crucial for every designer and present an opportunity for you to amaze your client. A bad design presentation can make your days of hard work go in vain, and we bet that you don’t want that to happen.
You can stop that from happening with proper presentation skills. So, in this blog, we will explore our newly-introduced feature 'Present Your Designs.' Besides, we will also look at the 11 best ways to present your design portfolio and the best tools you need to do that. Furthermore, we will focus on presenting specific design concepts such as logos, posters, flyers, etc.
Let's get started!
How To Present Graphic Design Ideas/Concepts To Your Client
Imagine you've received instructions to create different designs from your clients. You've gone back with your notes, and over a week or so, you've come up with different design ideas. Now, you're ready to present it to them.
But, wait! Don't rush into presenting your graphic design concepts without adequate preparation. In this section, we will examine how to present your graphic design concepts and ideas to your client, and gather feedback to meet their business goals.
What Is A Design Concept?
A design concept is the first step you take to solve a user problem. It starts from getting the brief, understanding the problem, knowing the brand and its users, speaking to different stakeholders, etc. This leads to:
- The overall theme for the design
- Colors
- Typefaces
- Fonts
- Shapes
- Layouts
- Styles/Motifs/Patterns
- Textures
- Overall design aesthetic
Furthermore, it leads to visual layouts that could be flowcharts, digital screens, user journeys etc. that elucidate the design concept. All of these come together to solve user problems.
But, before we get to the details, here's a short infographic that summarises the top seven ways to present your design concepts. Don't forget to learn the 7 other ways that we've outlined after Tip #5.
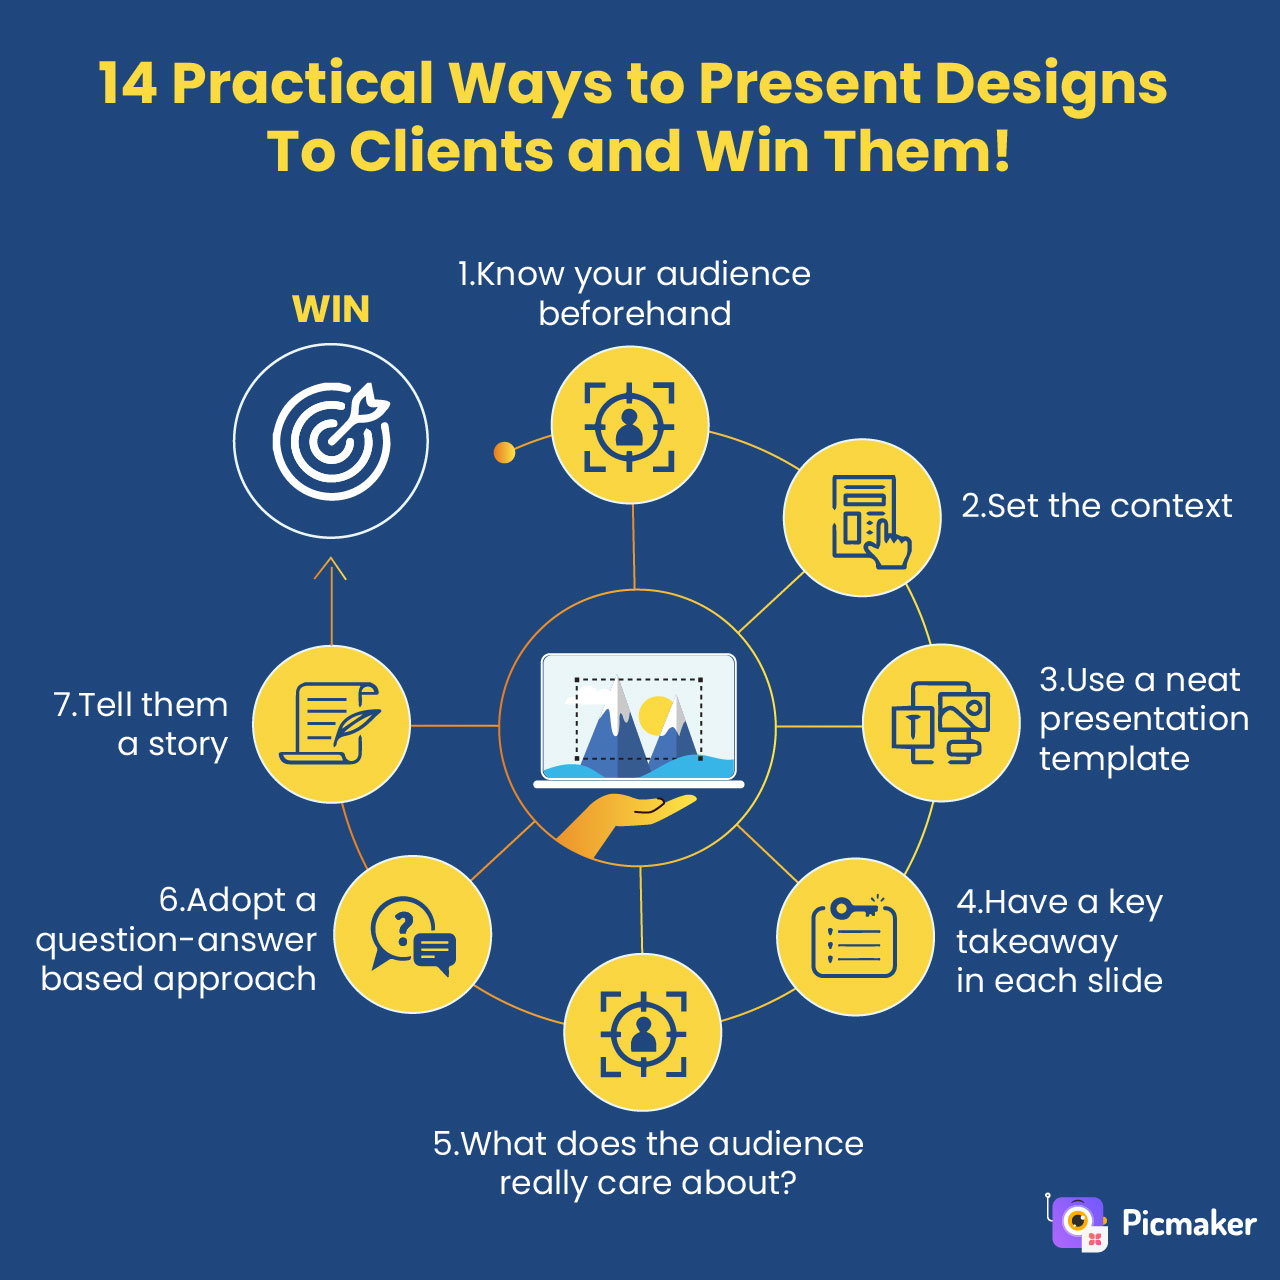
Tip #1 Know Your Audience
Know who you are presenting to and customize your presentation accordingly. Knowing your client is essential for effective communication. It helps you connect with them better when you know what they’re looking for
Here are a few questions you can get answers to before the big day:
- Who are the members of the audience?
- What are their roles in the project?
- Who will be the final deciding authority?
- What is their communication style? Long descriptions or short, pointed messages?
- What has been their experience so far?
Also Read: How to create a logo from scratch?
If you already know who your audience is going to be, you may reach them either by email or phone to know what they expect to see.
If not, you could connect with them on platforms such as LinkedIn, or Twitter, and gauge their expectations.
You could even send a short note like the one below:
“Hey [First name], I’m scheduled to present the different design options I’m working to you on [mention date, time]. Could you please tell me if you’re looking for anything specific that you want me to cover? I’ll ensure I put it in. See you later! :)”
Put yourself in your client’s shoes and try to understand them and their needs. Always remember that your presentation could flop if you present without knowing your client.
Tip #2 Talking About Your Design Concept
Take the time to prepare your design presentation. Obviously, the key elements of your presentation will be the different designs, typefaces, fonts, colors, Call to Actions (CTAs), user experience etc. But, here are a few elements that you need to talk about in your design work:
A. Set the context
Use one slide to set the context of the design project and describe the business challenge at hand. For example, a business challenge could be driving more signups via a landing page or reducing customer churn.
Briefly explain the instructions you received, project goals and end objectives you're trying to achieve, etc. Setting the context right shows what you've set yourself up to do, and helps everybody stay on the same page.
B. Use a neat presentation template
Remember you're here to showcase your work, and not to hand out manuscripts. So, make sure you use a good presentation template that does not have too much text. Instead, the designs and visuals themselves must tell the story. All your slides help you to build a narrative, so use them that way.
C. Have a key takeaway in each slide
Whether you're talking about different approaches to solve your problem or the project goals, remember to have a focal point on each slide. This focal point is the key takeaway from a slide, which helps the audience remember key points. And, don't forget to summarise all the major takeaways in one slide at the end of your design presentation.
D. What does the audience really care about?
No matter what your design presentation is about, ultimately, it should include things that the audience cares about. They're listening to your design presentation to solve a business challenge. So, always ask yourself if the information you're including in your presentation is addressing that point or not. If not, it does not deserve a place.
Here's a typical structure you could use to present your designs:
- Title slide
- The team behind designs
- Context about the design project (the brief you received)
- Summary about research undertaken for it
- Insights uncovered during user research
- Different approaches taken/strategies adopted (rationale used)
- The solution - The different design options
- Summary of key takeaways
- Next steps
Tip #3 Presenting Your Design Decisions
When you're presenting your designs, remember to take a question-answer styled approach. What does that mean?
It means try and find answers to questions that were posed to you. For example, if you're presenting the below design graphic, here are a few questions you could answer:
- Does the bold typeface and font suit the design?
- Does the purple background look good?
- Why did you choose a random shape behind the caricature?
- Does the CTA color encourage the audience to take action?
- Did the picture convey the central message of this design?
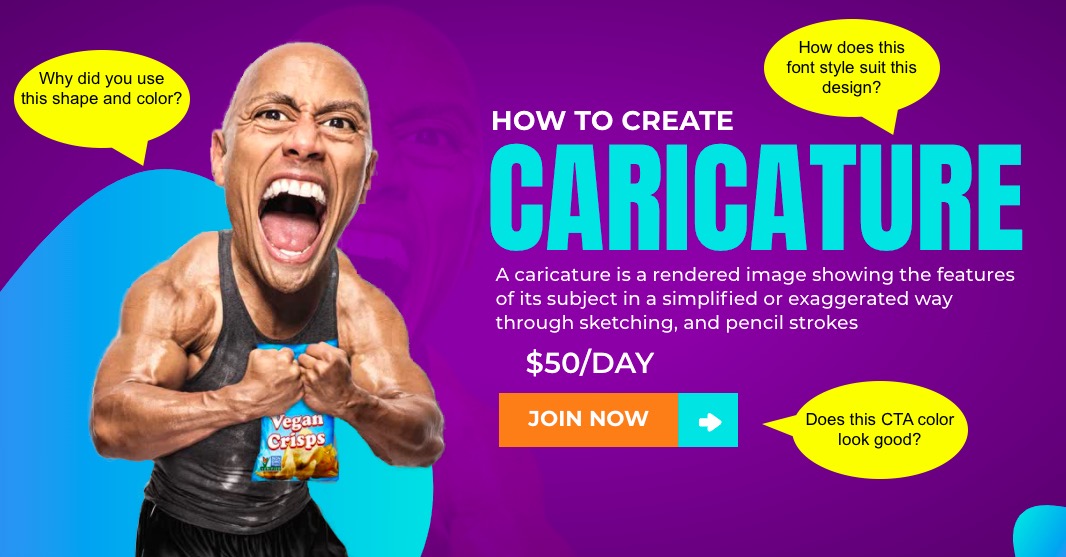
Adopting a question-answer based approach while presenting your designs helps you be rationale-driven.
Tip #4 Tell Them a Story
People connect to stories and remember them for a long time. So, structure your presentation like a story, tell them how your design came to life, the things that inspired you to create this design, the challenges you faced, and how you overcame them.
Your stories could revolve around:
- What was your objective behind the project?
- What kind of research did you undertake for the project?
- If you've spoken to customers/users, what was the questionnaire you used?
- What kind of responses did you receive from the customers/users and what insights you derived out of it?
- How did you begin conceptualising the designs?
- What inspired you to come up with the designs?
- What do you expect as outcomes from the design project?
- How will you go about with next steps?
Storytelling is the best way to engage your audience. Most clients are unfamiliar with the design process, so sharing your design process with your client will make them appreciate your hard work on the project. It will also help your client to understand the thought process behind your design.
Tip #5 Show Real Life Use Cases
There are two ways of presenting your designs: one to showcase different screens, and the other to weave in a real life use case. Let us look at these examples.
Let us assume that Dave has commissioned a design project to know the productivity of his employees. He prefers to get updates on his mobile phone.
Example 1: One way of doing it is to show a few mobile screens that exhibit when an employee logs in and logs out, or the number of hours they spend on different tasks, or when he/she takes a break.
Example 2: The other way of doing it is to show a real life use case of an employee - Michelle. In this case, you will need to speak to Michelle to understand how a typical work day in her life looks like. Create a questionnaire that helps you know facts about how she receives tasks, and how she goes about accomplishing it.
Then, present it to Dave in the form of a mobile app to track the productivity of a real employee. Explain via different screens to him, when she begins her day, how does she record her work, how she works on the feedback she receives, and how she tries to meet her objectives. At the end, if you can exhibit how much percentage (%) Michelle's productivity can be enhanced via your designs.
Which one of the above would you prefer as a designer? Obviously Example #2! ✌️
And, as promised before, here are the rest of the 7 tips to present your designs to clients and win them:
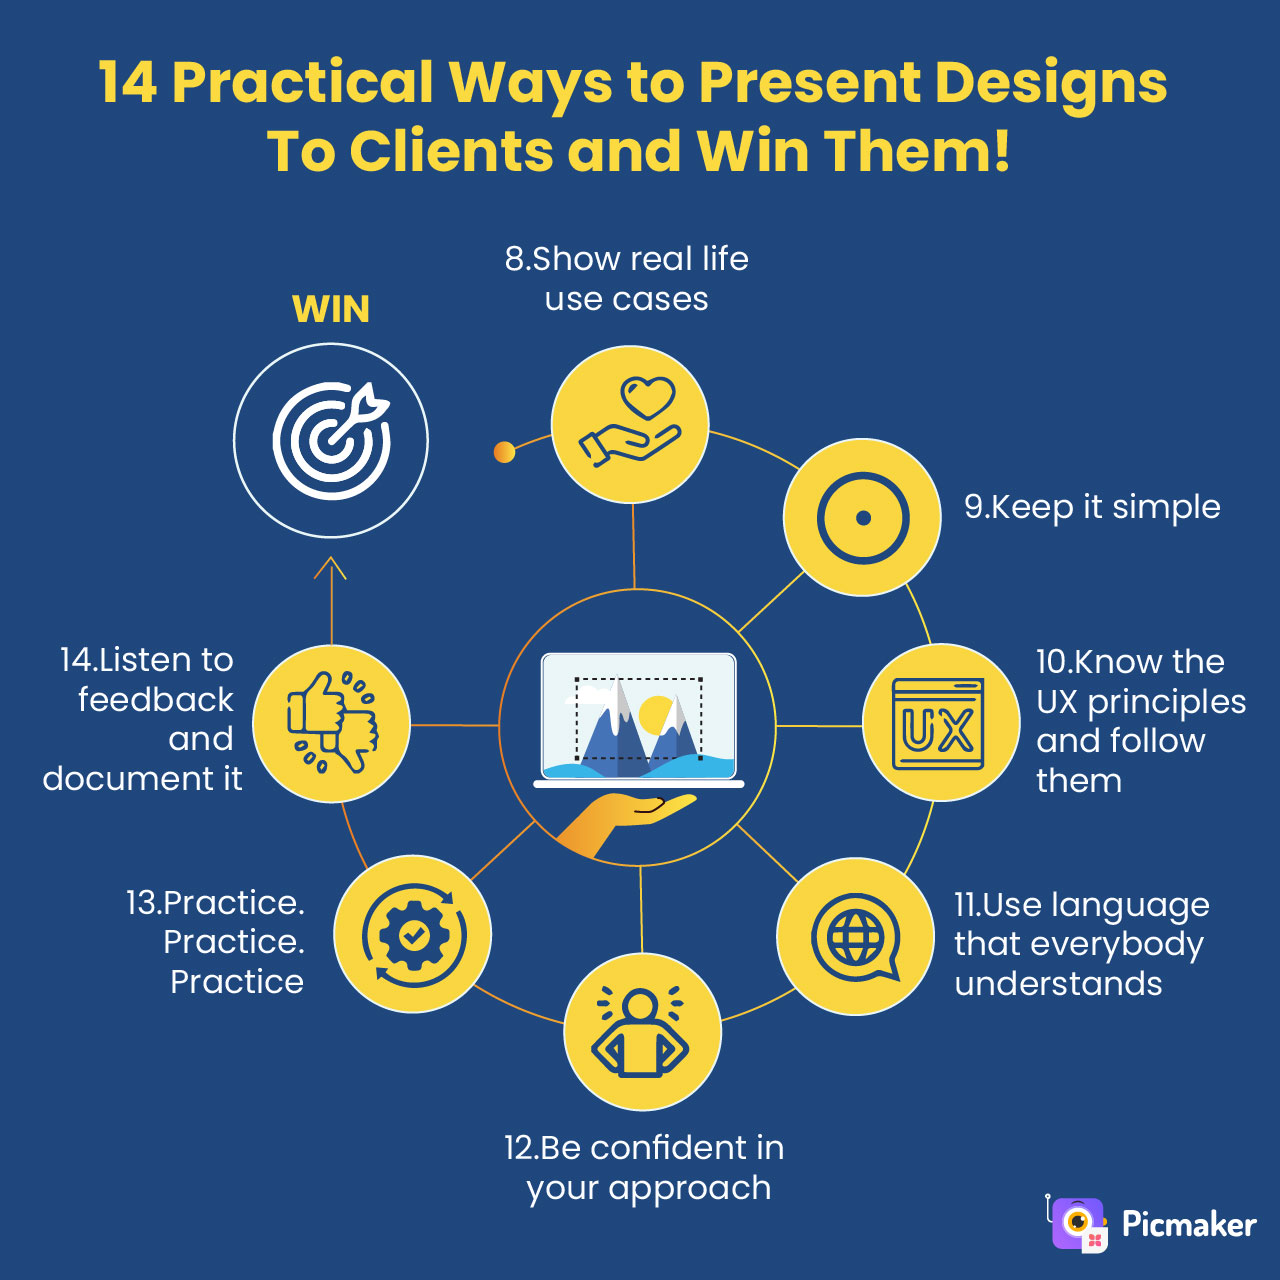
Tip #6 Keep It Simple
Less is more. Explain your designs briefly. Don’t bore your client with a lot of information. Don’t present too many design options and overwhelm your client. Remember, they’re looking for a solution, and when you’re presenting too many options, you’re further confusing them rather than providing a solution.
So, don’t take more than 20 minutes to present. Your client will lose interest in your presentation if you take too long. Avoid using too much text in your presentation. Steer clear of anything that will make your client lose focus on your designs.
Tip #7 Know The UX Laws and Follow Them
Every designer worth his/her salt cares about User Experience (UX). And, user experience is not rocket science. There are no hard rules you need to follow. But, you need to follow certain principles. Principles that help meet you the objectives you set for yourself.
For example, one principle of user experience is that you needn't pack your design with too much text. Or, you need to have your Call To Action (CTA) buttons visible enough for viewers/users to click on it. Or, you may need to use contrasting colors to convey the meaning of your designs. Such principles help you stick to your basics and present your designs in a clutter-free manner.
In the below design, the CTA button is a little subtle, and designers can tweak it to their liking based on client feedback.
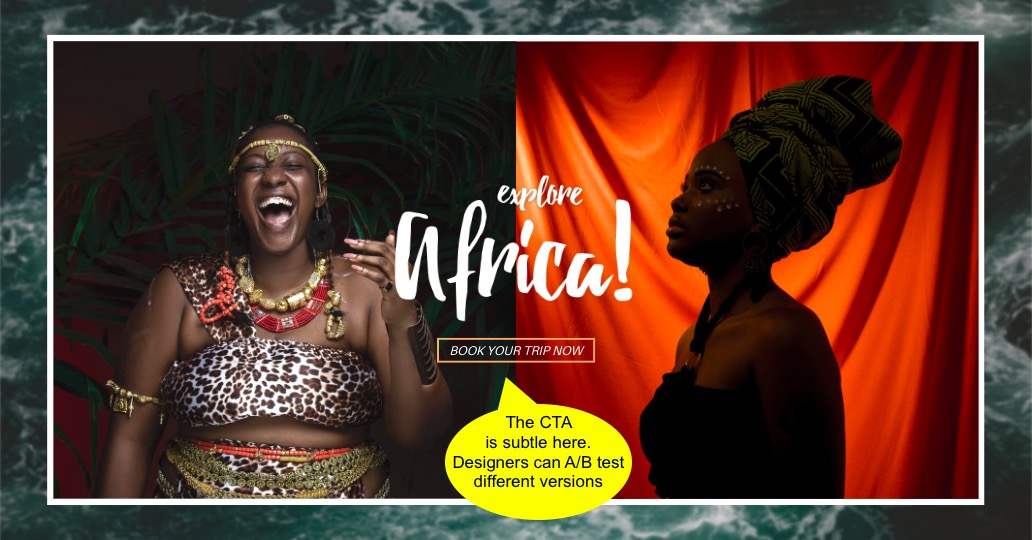
Besides, they portray you as a true designer, and not one who is still finding his/her feet in the design world.
Tip #8 Use Language that Everybody Understands
Using fancy buzzwords, jargon, and trying to sound smart is one of the dumbest things you could do while creating your presentation. Your client will eventually lose interest when you invest a lot of time trying to sound smart rather than being smart.
Highfalutin and superfluous words make you look stupid. Also, this would confuse your client. Your presentation should be understandable. Convey your message in a simple way. Try to sound clear, and comprehensible.
Tip #9 Be Confident
The most important thing while presenting is to have confidence in the work you’re presenting. Lack of confidence could lead to a bad presentation, and you would end up losing your client. Here are a few tips to look confident while presenting:
- Make eye contact with your client while you present.
- Use hand gestures.
- Maintain a good posture.
- Believe in yourself.
One surefire way of being confident while presenting your designs is by being adequately prepared with your presentation. That beings us to the next topic, which is practising.
Tip #10 Practice. Practice. Practice.
Yeah, we borrowed this headline from Joe Sugarman's legendary book titled "The Adweek Copywriting Handbook." But, every bit of that headline is worth it before you present your designs.
In order to deliver a killer presentation and win your client’s trust, it’s essential to prepare and practice beforehand. Try presenting your work to your peers or friends, listen to their opinions, and improvise.
Record yourself while you practice, watch the recording later and rectify your mistakes. You could even use intuitive screen recording tools such as Vmaker to check how you appear while delivering your presentation.
Make a list of questions that you’re anticipating from your client and prepare to answer them. It’s not easy to win your client’s trust, but it is not impossible either. Obviously, it takes hard yards to get there.
Tip #11 Listen to Client Feedback and Document It
Ask your client to share their feedback when you wrap up your presentation. Be attentive and listen carefully to their feedback and note them down.
Let your client know that you care about their feedback. Be prepared to answer their questions. At times you may disagree with your client’s feedback but never become defensive, and don’t take criticism personally. Good feedback can help you improvise, so always be receptive to feedback.
Explain to them how and when you will get back to them with updates to the designs. Keep the guessing to the bare minimal.
5 Mistakes to Avoid While Presenting Your Designs
Despite the best preparation, your design presentations can still go awry. In this section, we will look at some of the common mistakes to avoid while presenting your designs.
We captured all of it in a short infographic so you could use this as handy reference.
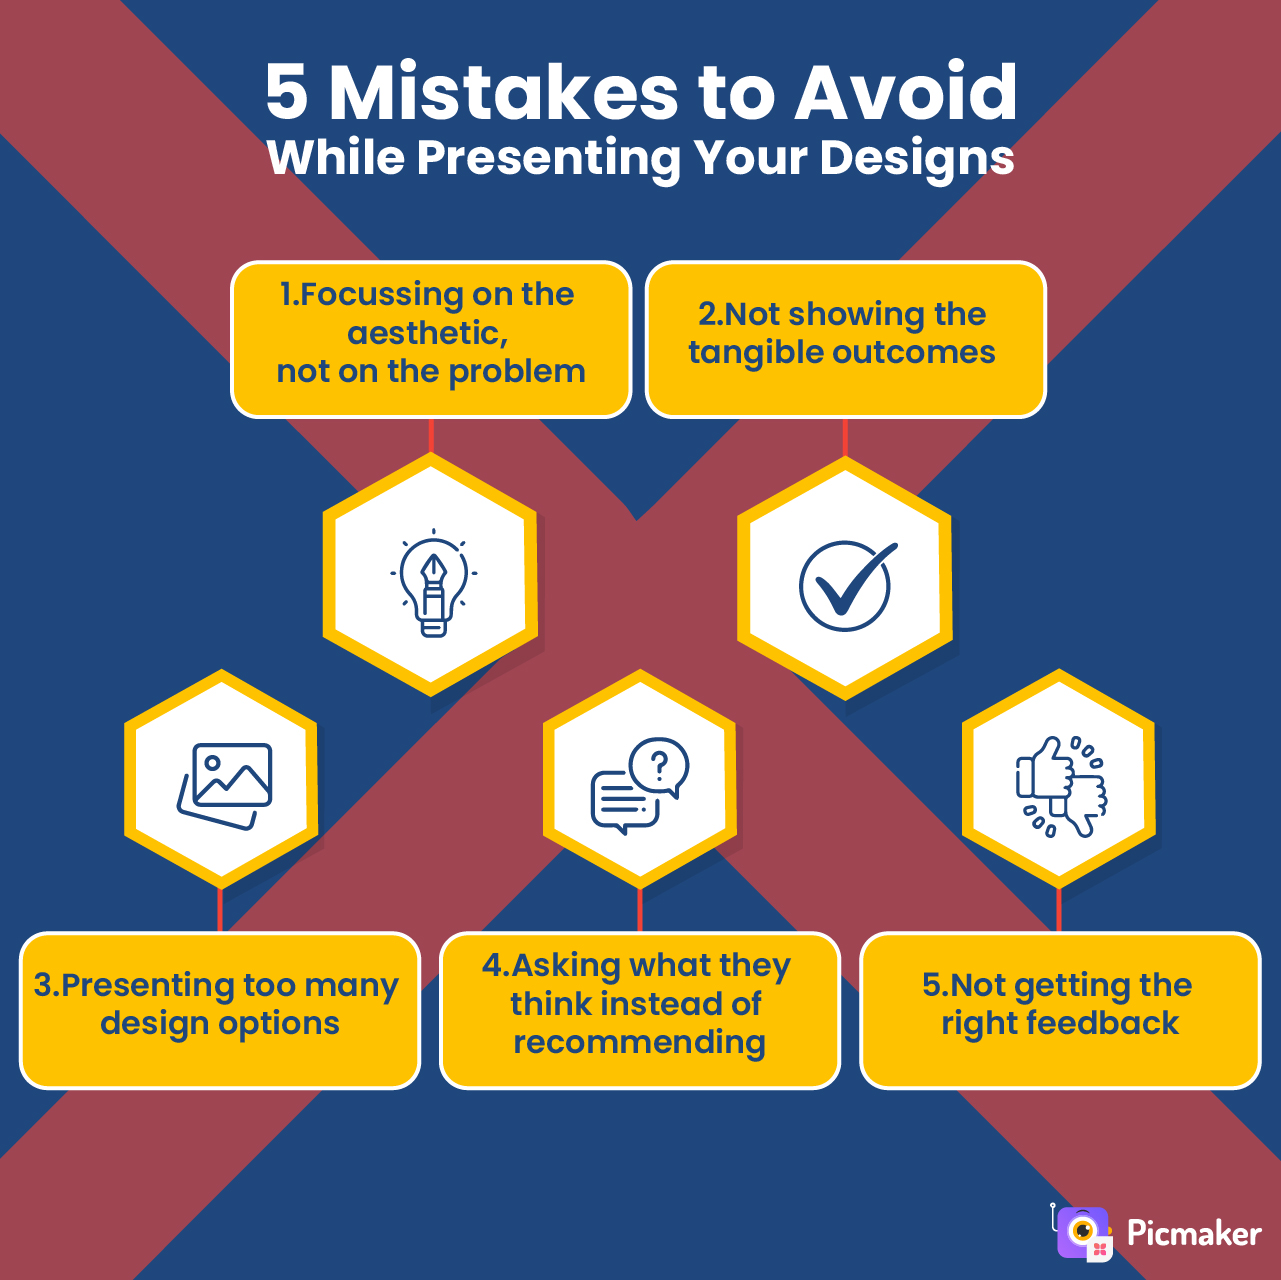
1. Focusing on the aesthetic, not on the problem
Remember that you're trying to solve a problem using your design skills. The solution lies in the ingenuity of your ideas and approaches. So, all elements of your approach such as fonts, typefaces/typography, primary and secondary colors, do not matter unless your design presentation solves the core objectives.
A lot of designers dwell too much on these elements that the client may not even understand because it is simply overwhelming. However, if you demonstrate to your client adequately that you've understood the problem, and proposed a practical solution to it, then you've done your job well. Remember, designers create awesome designs that solve problems and delight clients.
2. Not showing the tangible outcomes
Your clients/users are interested in tangible outcomes that are positive for them. So, show them how the end outcome will look like.
For example, let us assume that you're working on a project about improving an employee's knowledge through a Learning Management System (LMS). In this case, the ideal design solution is to showcase the journey from the first time an employee is introduced to the LMS, and the different modules he or she has to go through before getting certified. Explain how you will deliver the educational courses to them, how are they expected to complete it, and how you can track progress.
At the end of the different courses that are suitable for different employees, how will they benefit from it/how does it improve their productivity. Like we explained above, design is only the means to an outcome, and not the outcome itself.
3. Presenting too many design options
Imagine you're ordering dinner in a restaurant. How long does it take for you to decide when:
- You're given a menu card with 5 options
- You're given a menu card with 50 options
Obviously, you decide faster when you have lesser options. It is the same with your design presentation too. When you present too many design options to your clients, they'll find it difficult to visualize the outcomes for these. And, that results in delays in decision making.
Instead, when you present fewer design options, then it is just one of them. At this point, the discussions hover around what if you were to change one of the options rather than visualizing completely different options that are not even apart of the design presentation.
4. Asking what they think instead of recommending
Remember this - you're the expert in the room, and not your client/users for whom you're presenting design solutions. If they knew the solution, you'd not even be presenting to them.
So, act like an expert and recommend different solutions to them. Make sure you explain the pros and cons of each approach. Which typography goes well with your design, which shapes suit the context, why does the screen have so much white space, etc.
Imagine this situation. You visit a dentist to get treatment for your tooth ache, and after examining you, he says, "Do you think I should do root canal therapy for this?"
Poof! There goes all your trust in the dentist. You were hoping that you'd step out cheery-eyed after the visit, but the dentist does not seem to be confident enough about the right treatment.
Asking what they think about your solutions makes you look as if you do not have a solution yet, and you're using the audience as a sounding board. Treat your design clients/users as the audience who're patients looking for solutions to their ailments. It is fine to say that you could adopt an A/B Testing approach to see which designs work well and decide based on the results. But, asking what they think is an absolute no-no.
5. Not getting the right feedback
Feedback is super-important for your design projects. But, feedback from the wrong people who do not have a stake in the outcomes can hamper your progress.
Similarly, feedback from folks who do not even have a remote understanding of what your solution entails could derail your project. Feedback such as "I think we should use a red button instead of the pink one," or "We should probably go with Arial fonts," are too generic.
Instead, qualitative feedback such as "Can we have a form in the header section of this website design because it helps visitors to sign up for our service instantly?" is more welcome.
The reason? Simple, it points to an end outcome, and it shows that the audience has thought through the problem. It also shows that they have clarity on what they want.
Moreover, make sure you ask the right questions to the right people. Don't ask pointed questions such as "What do you think of this font family?" Instead, ask them open-ended questions such as:
- What comes to your mind when you see this design? Describe your thoughts.
- Looking at this design, what impression do you get about your business, service, product etc.? Casual, serious, professional, B2B/B2C?
- What other information do you need to take action?
- Do the visuals (GIFs, pictures, videos) in this design describe the feature well?
Answers to these questions help you assess whether your design meets the objectives of your target audience. Go back to the drawing board if you feel you need to tweak your designs to achieve what you set out to do.
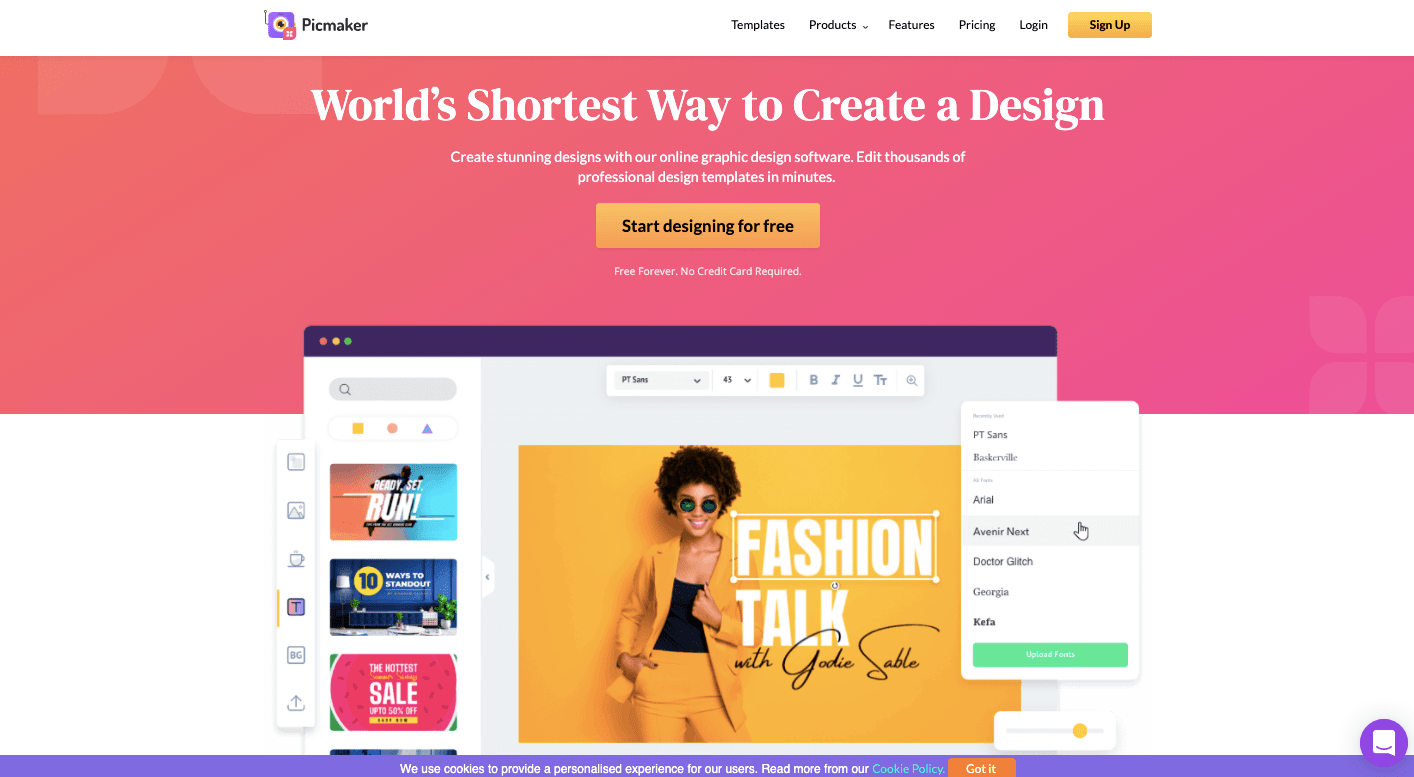
How To Present Your Design Portfolio With Easy DIY Graphic Design Tools
Picmaker is one such online graphic design software that lets you do that. All you have to do is log in to Picmaker, create your designs or open the existing ones, click on the present option and start presenting. We put together a short video about how you can present your designs using Picmaker. Watch it now!
How To Present Your Logo Designs
Imagine that you’re a logo maker, and you specialize in logo designs for your clients. And usually, your clients are seldom happy with one logo option. It is not just the color that they aren’t happy with, they may want an entire overhaul of the concept itself.
So, it’s essential to choose a good logo maker tool to create your logo designs. We suggest using Picmaker because it offers a wide range of customizable, unique, professionally designed logo templates.
Follow these steps to create and present your logo designs using Picmaker.
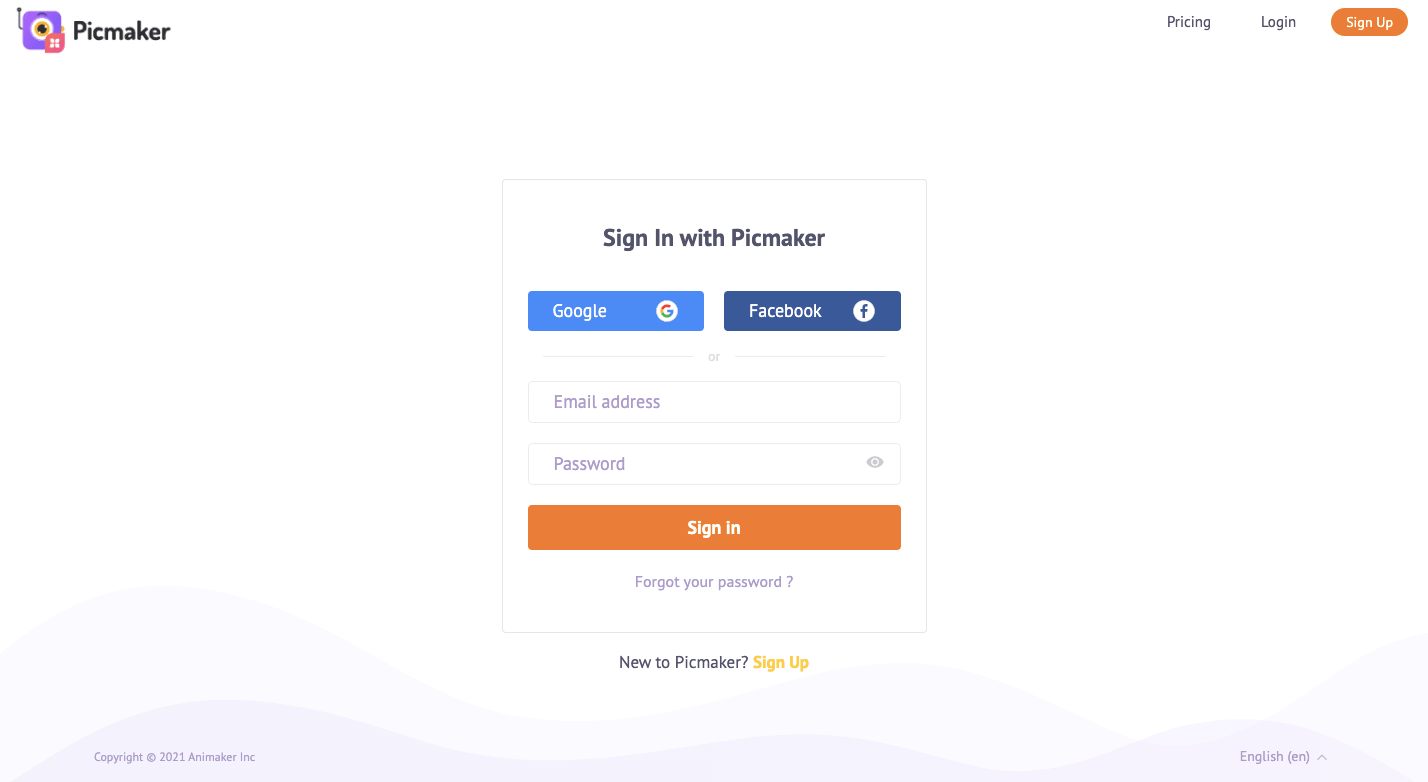
Step1: Log in / Sign Up To Picmaker
Log in to Picmaker using your login credentials or sign up using your online account. Click on the 'Sign Up' button if you do not have an account in Picmaker. If you already have an account, click on 'Login.'
Then, you will land on the sign-in page. Enter your login credentials and you're all set.
Here's how your Picmaker dashboard looks when you log in.
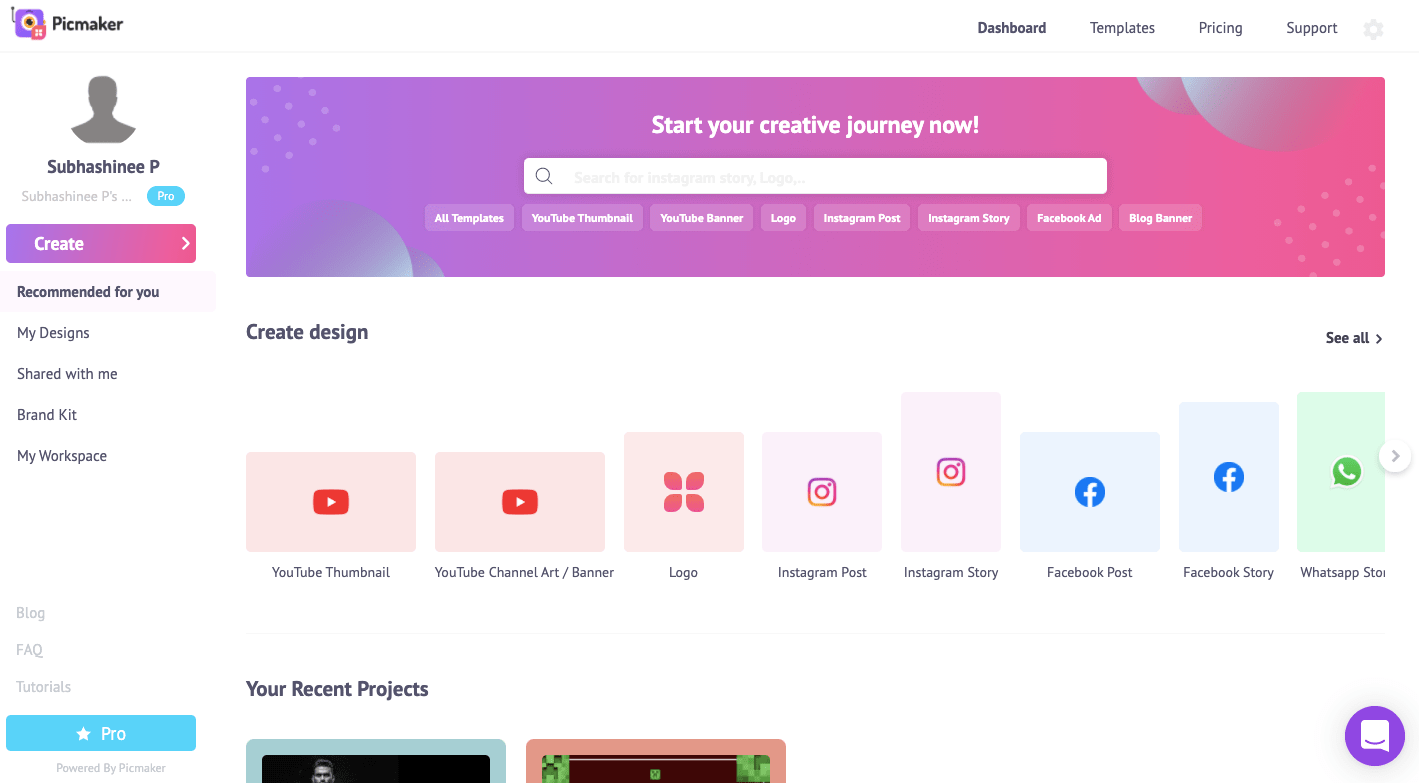
Step 2: Choose a logo template
Now it is time for you to choose a logo template. Pick your favorite templates from the thousands of professionally designed logo templates available in Picmaker.
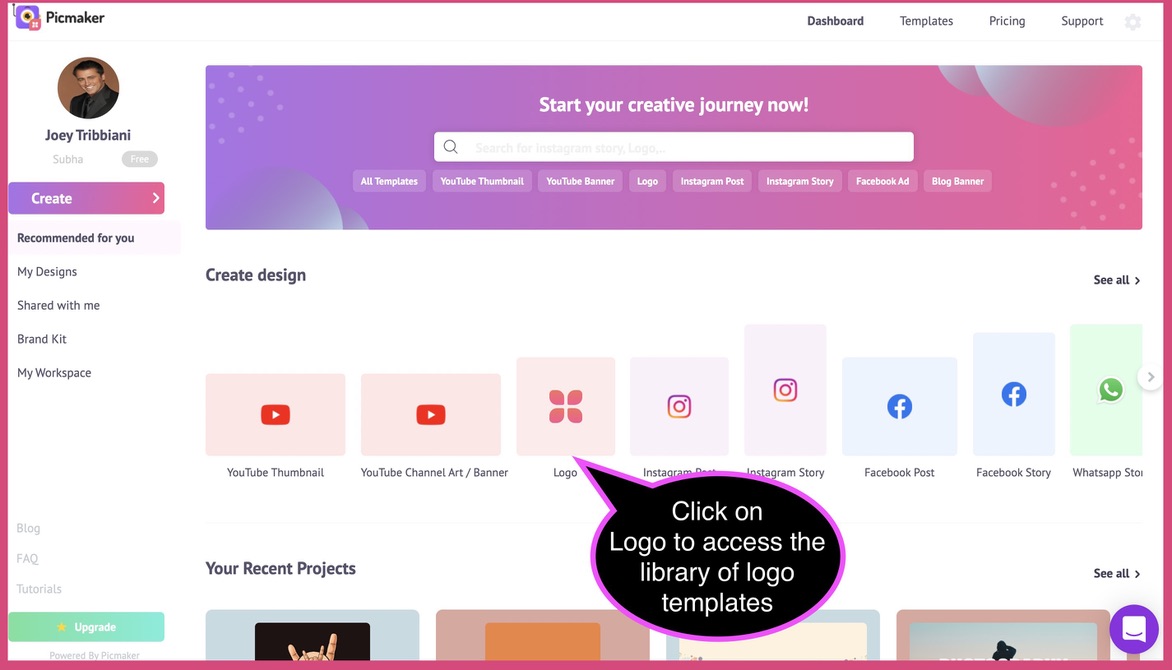
When you click on the logo category either on the search bar or the horizontal category list, you will notice a separate page opens up exclusively with logo templates.
Either use the search bar to look for your favorite logo templates or choose from the array of templates that you see.

You may even use the scroll bar to take a look at the different logos we have. Each of these templates is customizable for your business.

Now, assuming you like a particular logo template, click on it and you will see a separate tab opens with this template

Step 3: Customize the design
Customize the logo templates with your choice of colors, fonts, and elements. For example, in the above logo template, we changed the name from 'Jennie Thomas Fashion Designer' to 'Delilah Ayston Fashion Designer.'

And, we even changed the color a bit to suit our brand and style. After all, Picmaker gives so many different ways to align with your brand.

If you're not sure which color or palette suits you, then we have a solution for that too. You can simply use Picmaker’s MAD button, which uses AI and gives automatic suggestions to enhance your design.

If you wanted a glimpse of how our MAD Button works to give you awesome designs in a matter of seconds, then the below GIF is for you. 🙌

Step 4: Present Your Logo Designs!
Now, imagine you are getting ready for a branding meeting where you will present different logo designs. How do you go about it?
Picmaker's 'Present' feature is exactly what you need.
When you’re done with editing your logo designs, click on the 'Download' button in the top right corner and choose the present option.

You will notice your screen enlarges in a different tab. You can click on the 'enlarge' button at the bottom of your screen. And, then click the 'next' button to move forward in your logo designs.

You can even toggle back and forth between your logo designs.

And, here is a quick GIF to show you how you could present your logo designs effortlessly. 🙌

How to Present Your Poster Designs
Now, we know that some of you create posters for your schools, colleges, communities, etc. That is why we enabled you to present your poster ideas to your audience in a seamless way.
Picmaker is your one-stop to create and present your poster templates. We host an ever-growing library of over a hundred professionally designed poster templates, that you can access for free! 👀
Step 1: Choose your favorite poster template
After logging into Picmaker, click on 'Poster' to explore the vast range of poster templates that Picmaker provides.

Now, browse through the poster templates that we have and choose your favorite poster template from hundreds of options available in Picmaker.

We have templates for everyone's taste, and you won't be disappointed!

Here, we have chosen this specific poster template to proceed with the customization.

Step 2: Customize the poster design
Customize the template you chose with your choice of images, icons, fonts, and design elements.
Here, you can see that we have changed:
'BOOK NOW' to 'ORDER NOW'
'FLAT 30% OFF' to 'FLAT 50% OFF
The website address to 'WWW.ASHSRESTOBAR.COM.'
We have also changed the image, font color, text placement, and alignment.

Or, click on the MAD button and witness the magic.

Step 3: Present your poster designs
Now, to present the designs that you created, all you have to do is click on the 'Download' button in the top right corner and choose the 'Present' option.

After clicking on the 'Present' option, another tab will open on your screen where you'll be able to present your designs.
You can enlarge your screen if you want to do so by clicking on the 'enlarge' button, which you can find at the bottom of your screen.

You'll also be able to toggle back and forth between your designs.

This GIF will help you understand how you can present your designs using the 'Present' feature.
How to Present Your Flyer Designs
Flyers are marketing essentials that never go out of fashion.
Whether you're creating flyers to advertise events such as music concerts, parties or to promote other businesses, Picmaker has flyer templates for every need of yours.
Picmaker’s flyer maker furnishes more than a hundred flyer templates and helps you design stunning flyer designs in minutes.
Let’s see how to create and present your flyer designs using Picmaker.
Step 1: Choose your favorite flyer template
After you log in to Picmaker, you’ll find 'Flyer' listed under 'Create design' in the dashboard. Click on it and to view the flyer templates that are available in Picmaker.

Now, choose your favorite template from the wide range of ready-for-use flyer templates that are available in Picmaker. And, you know what? Picmaker's flyer templates are free, customizable, and printable!

We've chosen the below template to go on with our illustration.

Step 2: Customize the design
Customize the flyer templates with your choice of images, icons, colors, fonts, and design elements.
In the below template, you can see that we have changed the text from:
'FLAT 50% OFF ON ALL APPARELS' to 'UPTO 60% OFF ON SELECTED APPARELS'
'NEW ARRIVAL SALE' to 'END OF SEASON SALE.'
Furthermore, we have changed the background, font style, and website address.

Or, you can use Picmaker’s MAD button to get automatic suggestions to enhance your design.
You can get suggestions for your font, background color, image individually by clicking on the respective buttons, or you can click on the 'MAD All' button to get suggestions for all your design elements at once.

Step 3: Present your flyer designs
When you've completed designing your flyers and are ready to present your designs, click on the 'Download' option in the top right corner and choose the 'Present' option to start presenting your designs.

Click on the 'Enlarge' button at the bottom of the screen if you want to make your screen big.

You can toggle back and forth between your designs by clicking on the 'next' and 'previous' buttons or by using the navigation keys.

Take a look at this GIF to understand how Picmaker's 'Present' feature works.
Present Your Designs - Key Takeaways
Let us quickly wrap up what we learnt in this blog
- Confidence is the key to earning your client’s trust. You may leave your clients awestruck with your designs, but you will eventually ruin it all if you don’t have confidence. So, always believe in yourself.
- Practice by presenting your work to your peers and friends, and also be prepared to answer your client’s questions.
- Try to understand your audience, their perspectives, and their needs. It paves way to effective communication.
- Narrate your design process as a story to your client, explain how your design came to life.
- Always keep your presentation simple, don’t confuse your client by overloading them with information.
- Avoid using fancy buzzwords and jargon.
- Be receptive to feedback it helps you get better, and don’t take criticism to heart.
We hope this blog helps you deliver killer designs and win clients!
Additional Reading:
- Have you ever wondered, "What makes a good logo?" If you have, then here are 10 Logo Design Tips for Anyone Who Wants to Create a Unique Logo.
- Learn how to create business flyers, along with 25 free templates and essential tips to design beautiful flyers for your business.
- Feature Update: Learn how to create awesome collages with our ready-to-use grid design layouts for your artwork.