Brand fonts decide the personality of your brand. Your brand fonts should be easily reachable to use without any hiccups.
In this quick tutorial, let’s see how to add your brand fonts to the brand kit.
Brand Kit

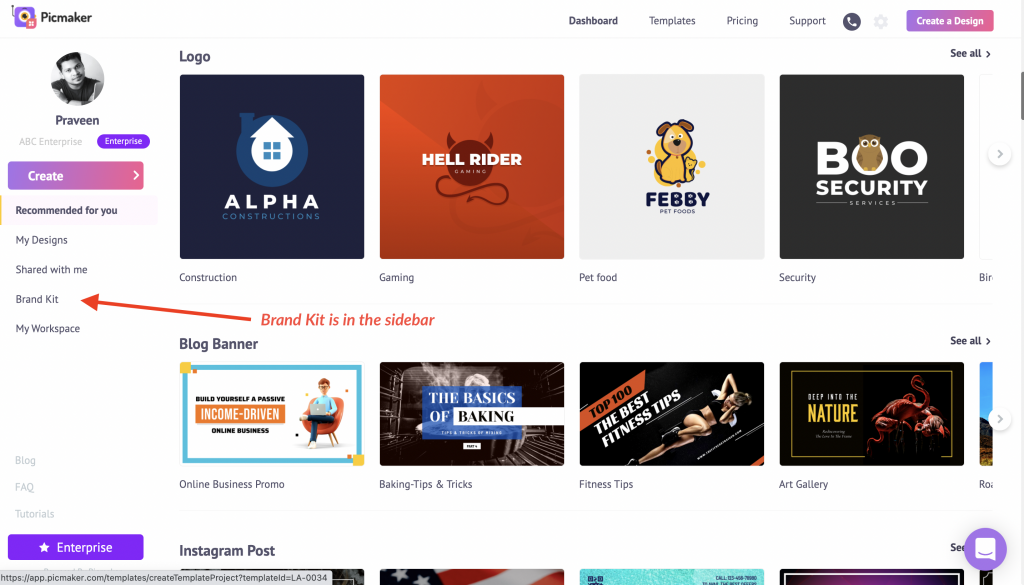
From the dashboard of Picmaker, click on Brand Kit in the sidebar.
The third segment under the Brand Kit is the Brand Font.

Get started by choosing a font for headings.
You can set the brand font, choose the size and styles.
The top fonts in the graphic design world are already available in Picmaker.
If you need to upload a custom font, click on the “Upload font” button and choose the font from your file explorer.
Once you select the font, it will be added to the brand font list.
The same process applies to choosing a font for subheadings and body text.
Now, let’s see how your brand font comes in handy while you design.
Brand Fonts in Action
Choose an Instagram post template for instance.
As you can see, the template is 100% customizable.
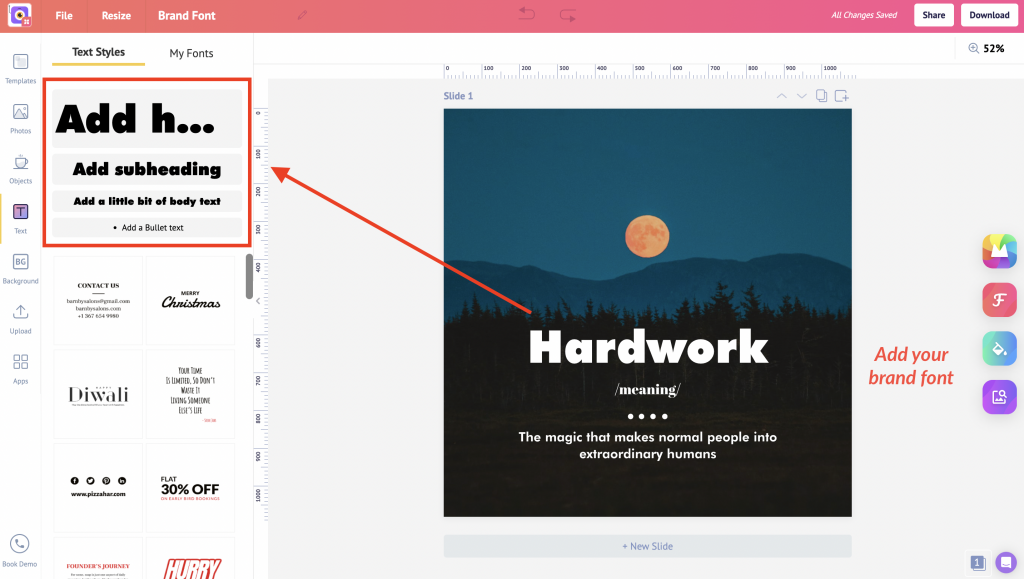
Your brand fonts are available under the text section in the sidebar.
In just one click, you can add the text with your brand font to the artboard.

Double click to edit text.
It’s that easy to keep your brand fonts handy and use them on your design.
So what are you waiting for?
Update your brand fonts to the brand kit now.
Check out the below tutorials
How to use gradient shapes in your design?


