
Contents
1. Remove backgrounds from our stock images too!
2. Add some cool outlines to any image
4 awesome features you'll love this spring
Karthik S - February 16, 2021 - Leave your thoughts.
Woah! We're already in February, and spring is around the corner. And, all winter we've been hard at work launching new features that keep you coming back to Picmaker for more.
Okay, let us go over it one by one.
1. Remove backgrounds from our stock images too!
Yes, we heard you on this one (as we always do). Until now, you could use our background removal tool only on images that you upload to Picmaker.
Well, that is no longer the case. The good news is that you can remove backgrounds from our stock pictures too.
Now, drag and drop any picture from the 100 million stock images that we have, on your design, and remove backgrounds in a few clicks.
(Yes, you heard that right! We have 100 million stock images that you can use on your designs.)
Here's a quick GIF that shows you how to remove backgrounds from your images.
2. Add some cool outlines to any image
We heard you on this one too. Until now, you could add outlines (Stickerify) only on images that you brought in to Picmaker.
However, going forward, you can add outlines to all images - be it yours or be it the stock images in Picmaker.
And, here's how you do it.
What is in it for you?
It means you can:
- Use any of our stock images on our design and customize them endlessly to suit your needs.
- You needn't restrict yourself to removing image backgrounds and adding cool outlines to just your images.
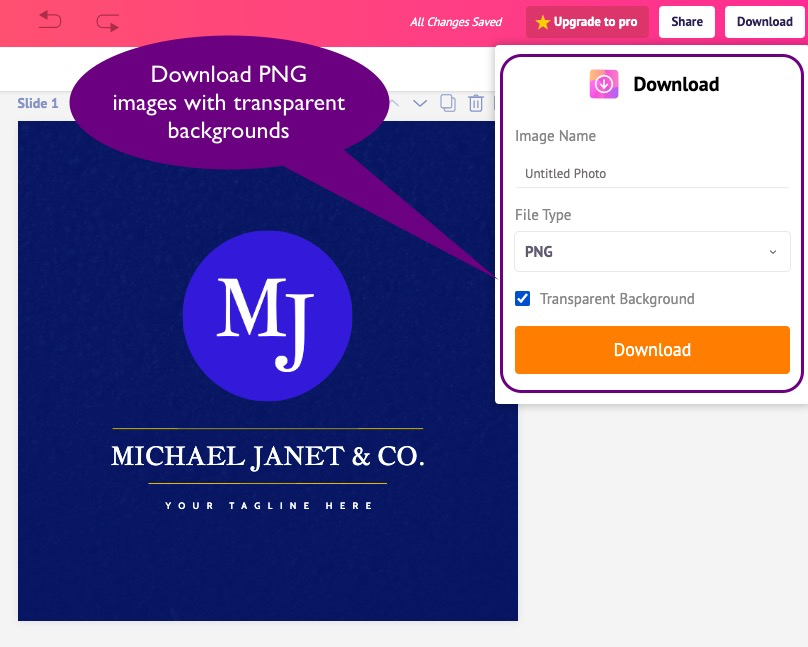
3. Dowload PNG images with transparent backgrounds
Do you long for PNG images sans backgrounds? If yes, then this one is for you.
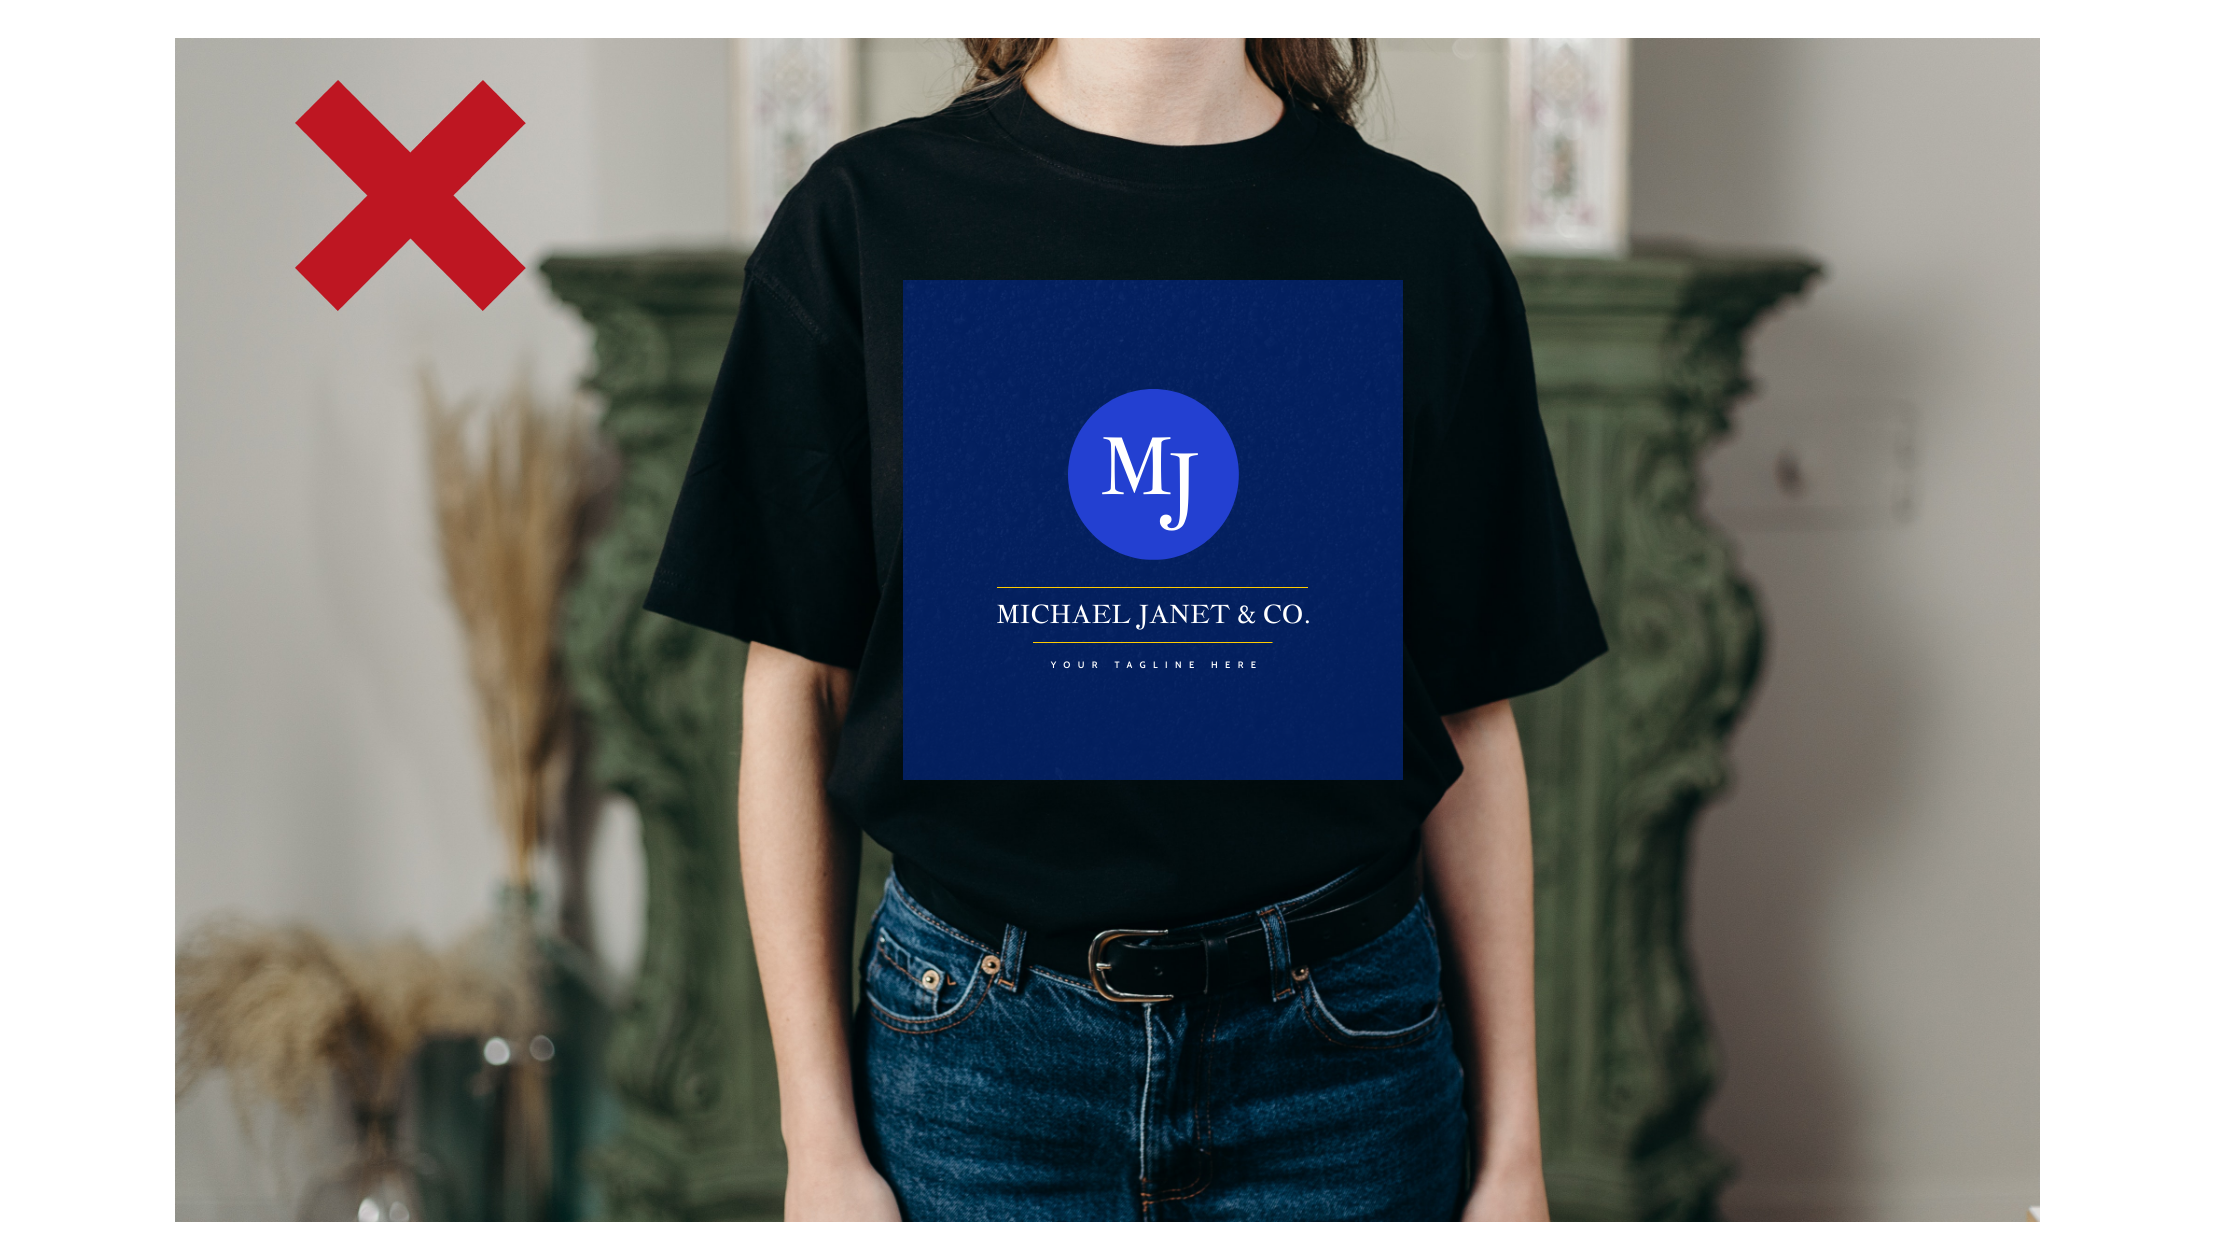
Transparent PNG images such as logos can help you stand apart with your branding. For example, imagine a black box surrounding your logo on a T-shirt versus having a transparent logo on it.
Here're a couple of images for comparison - The first image has a boxed PNG image on a T-shirt.
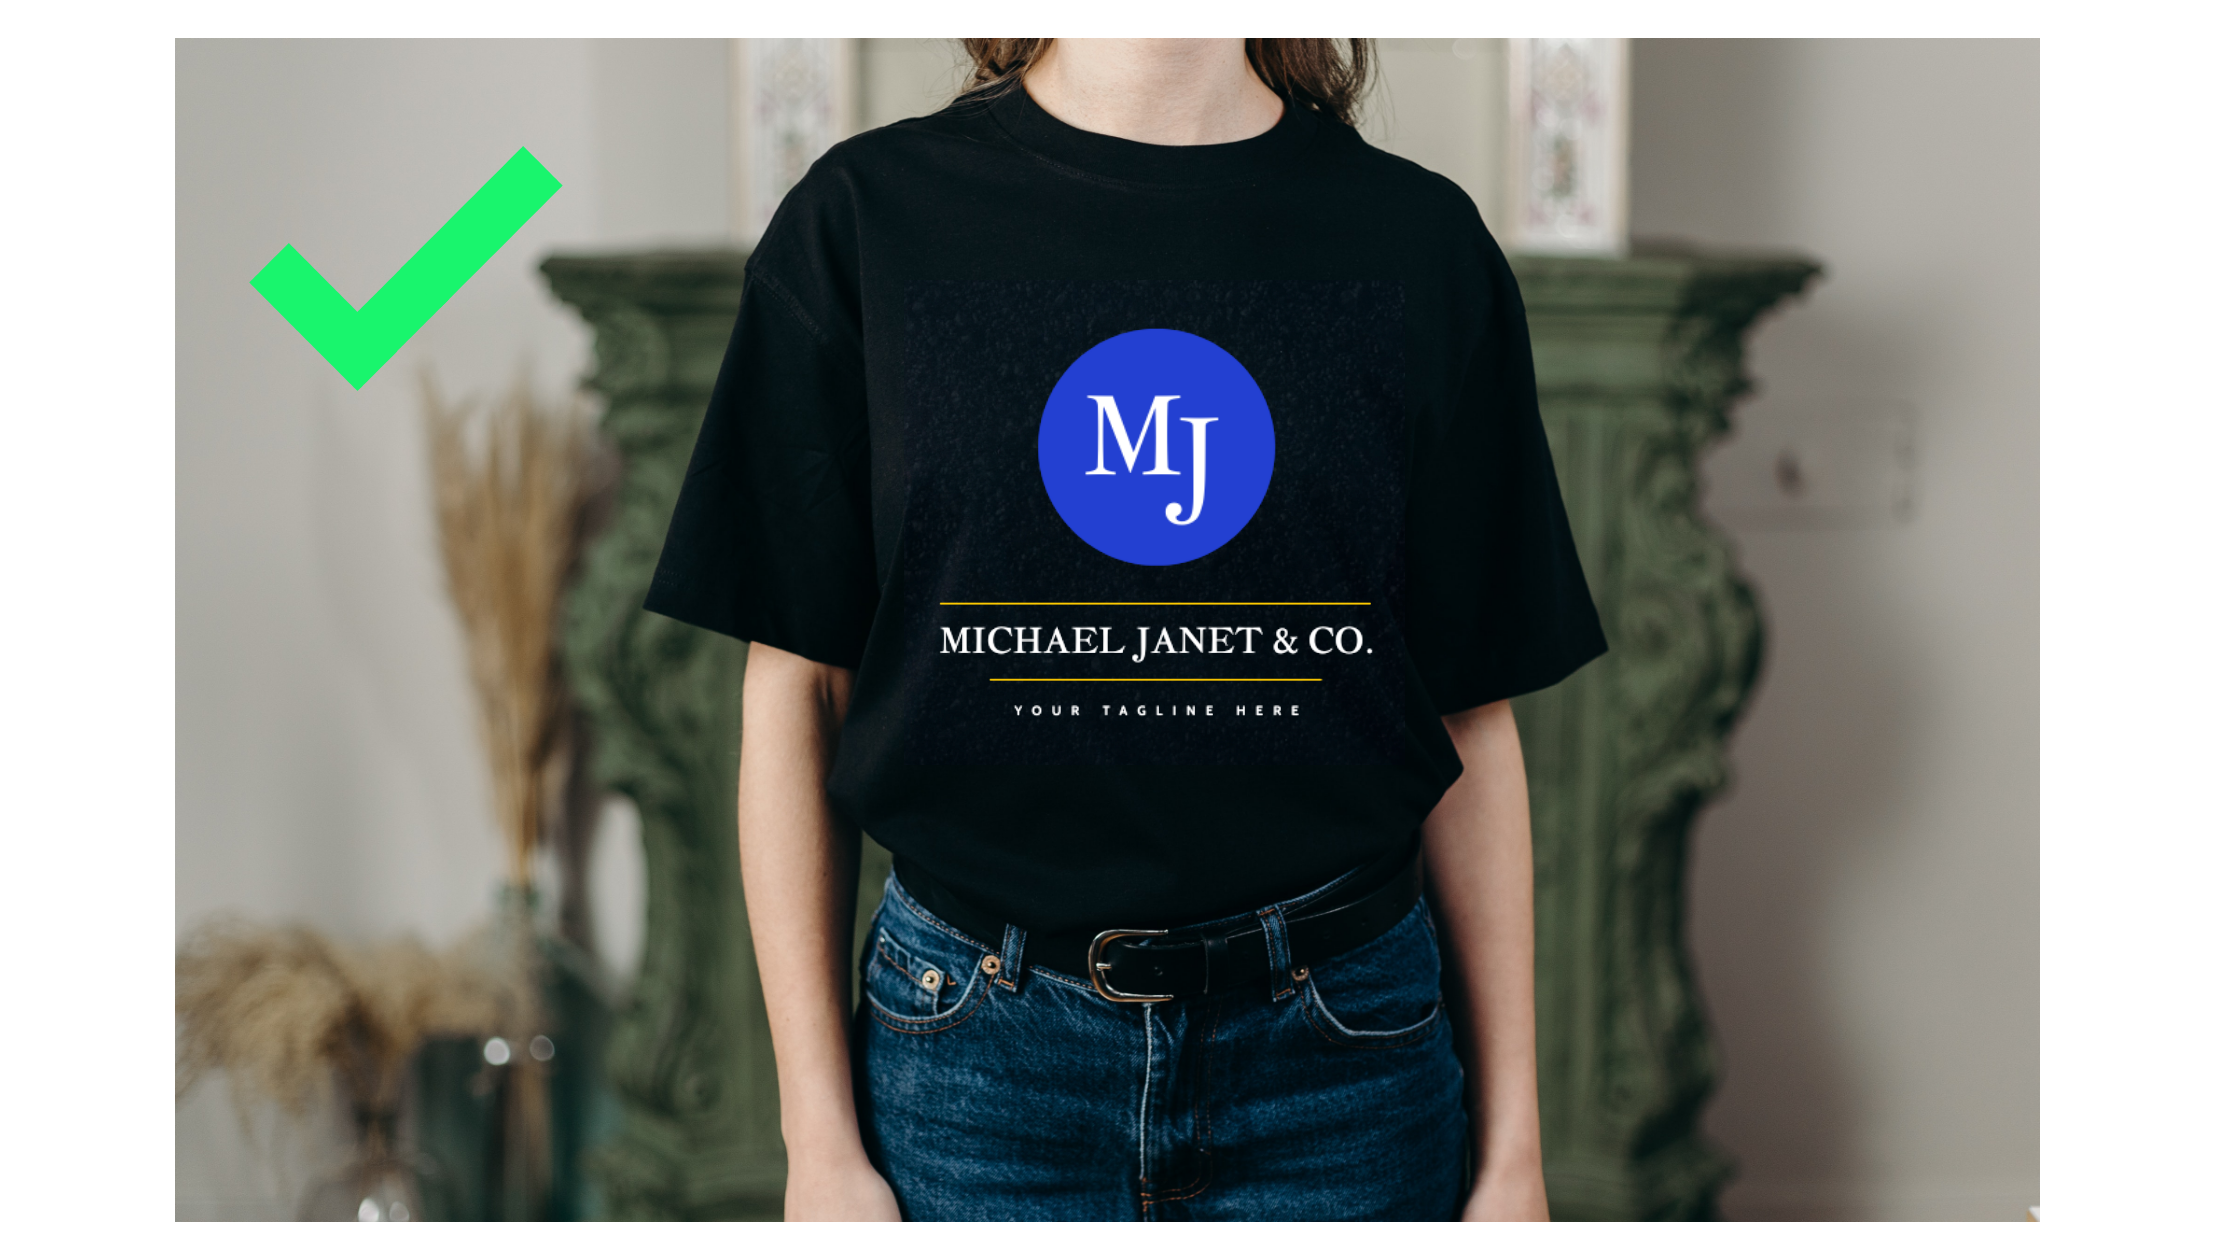
And, here is one with a transparent PNG logo on the same T-shirt.
Which one do you like?
Obviously, the second one with the transparent PNG image looks more classy and sleek. It enables your pictures to have more surface area instead of being boxed in. On the other hand, in the first one, you notice the logo in a square box, which robs the aesthetics of the design.
That is why when you're downloading your designs in Picmaker, ensure you select the 'Transparent Background' option for background-free PNG images.
Why should you care about transparent PNGs?
- While there are tons of stock PNG images on the internet with transparent backgrounds, making your own designs transparent matters a lot. Why? Because stock images are sought after by a lot of people, but your transparent PNG images have a sense of individualism.
- Transparent PNG images give you more flexibility and space to create your designs.
- You can use the same transparent PNG image for different merchandise, such as coffee mugs, T-shirts, bags, pens, visiting cards, diaries, office signboards, wall art, etc.
4. Share your designs instantly
Last, but not the least, you will surely love this one.
Picmaker lets you share your designs in many ways. Now, you can share them with your team members directly from the dashboard or while you're working on it.
You can even enable them to edit your designs or just view them. Your team members will receive an email that lets them know of what you've shared with them.
Moreover, you can share the URL of your design with your team members too.

Here are the different ways you can share your designs:
- Enable team members to view your designs
- Enable team members to edit your designs
- Share the design URL with team members enabling them to view it
- Share the design URL with team members enabling them to edit it
Read our detailed FAQ on this to know how the sharing function works.
That's all folks in this round.
We'll be back again in a fortnight with more new features. Until then, we'll be deep in our trenches working on more awesome features.
But, don't forget to show us some love, and follow us on Twitter, Facebook, Instagram, or LinkedIn.