Removing picture backgrounds can be a pain! You need to save a picture on your computer, upload it in a tool, do whatever it instructs you, and then download it. Phew! But, with Picmaker's Artificial Intelligence-enabled background remover, you can remove backgrounds. What's more? You can even retain or remove backgrounds as and when you go along.
Follow these steps to understand how
Log in
Log in to Picmaker and select the design on which you want to add your picture.
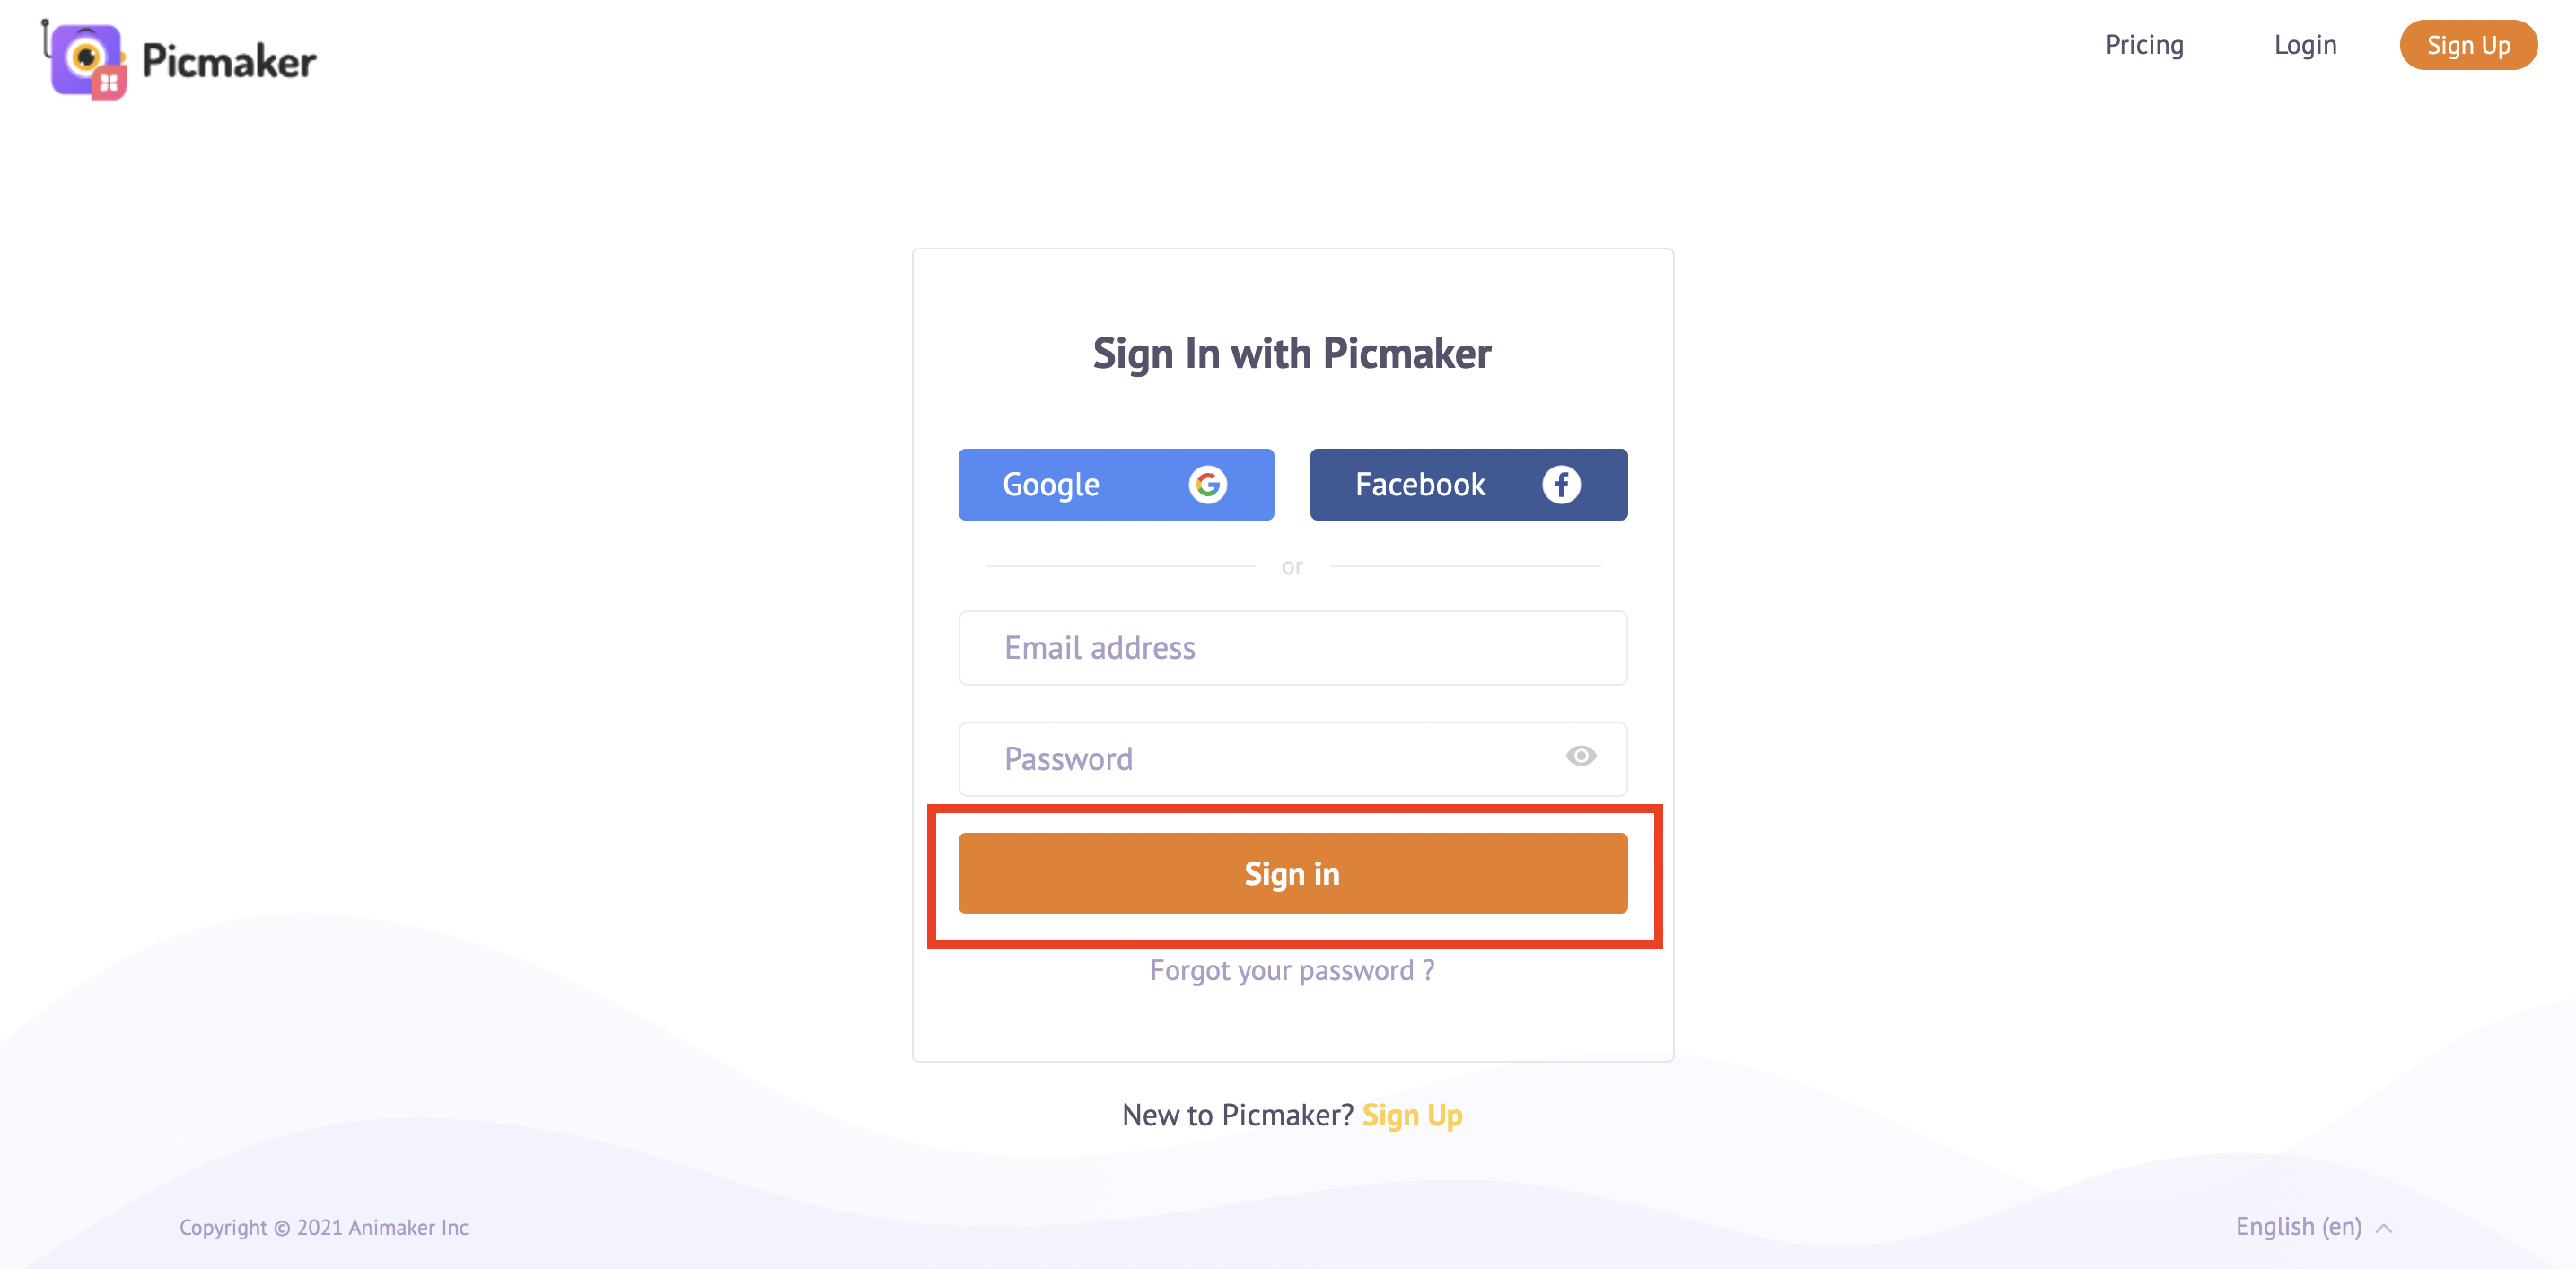
We have selected a blank custom design for this video. However, you can also choose an existing design or template to add a picture without a background.
Remove background (for custom pictures)
To remove the background from your custom pictures, you need to upload them to Picmaker’s dashboard. To do this, click on the ‘Upload’ tab, click on the ‘Upload’ button and select your custom picture. It will be saved in your dashboard. Now you can click on it to upload it to your design canvas.

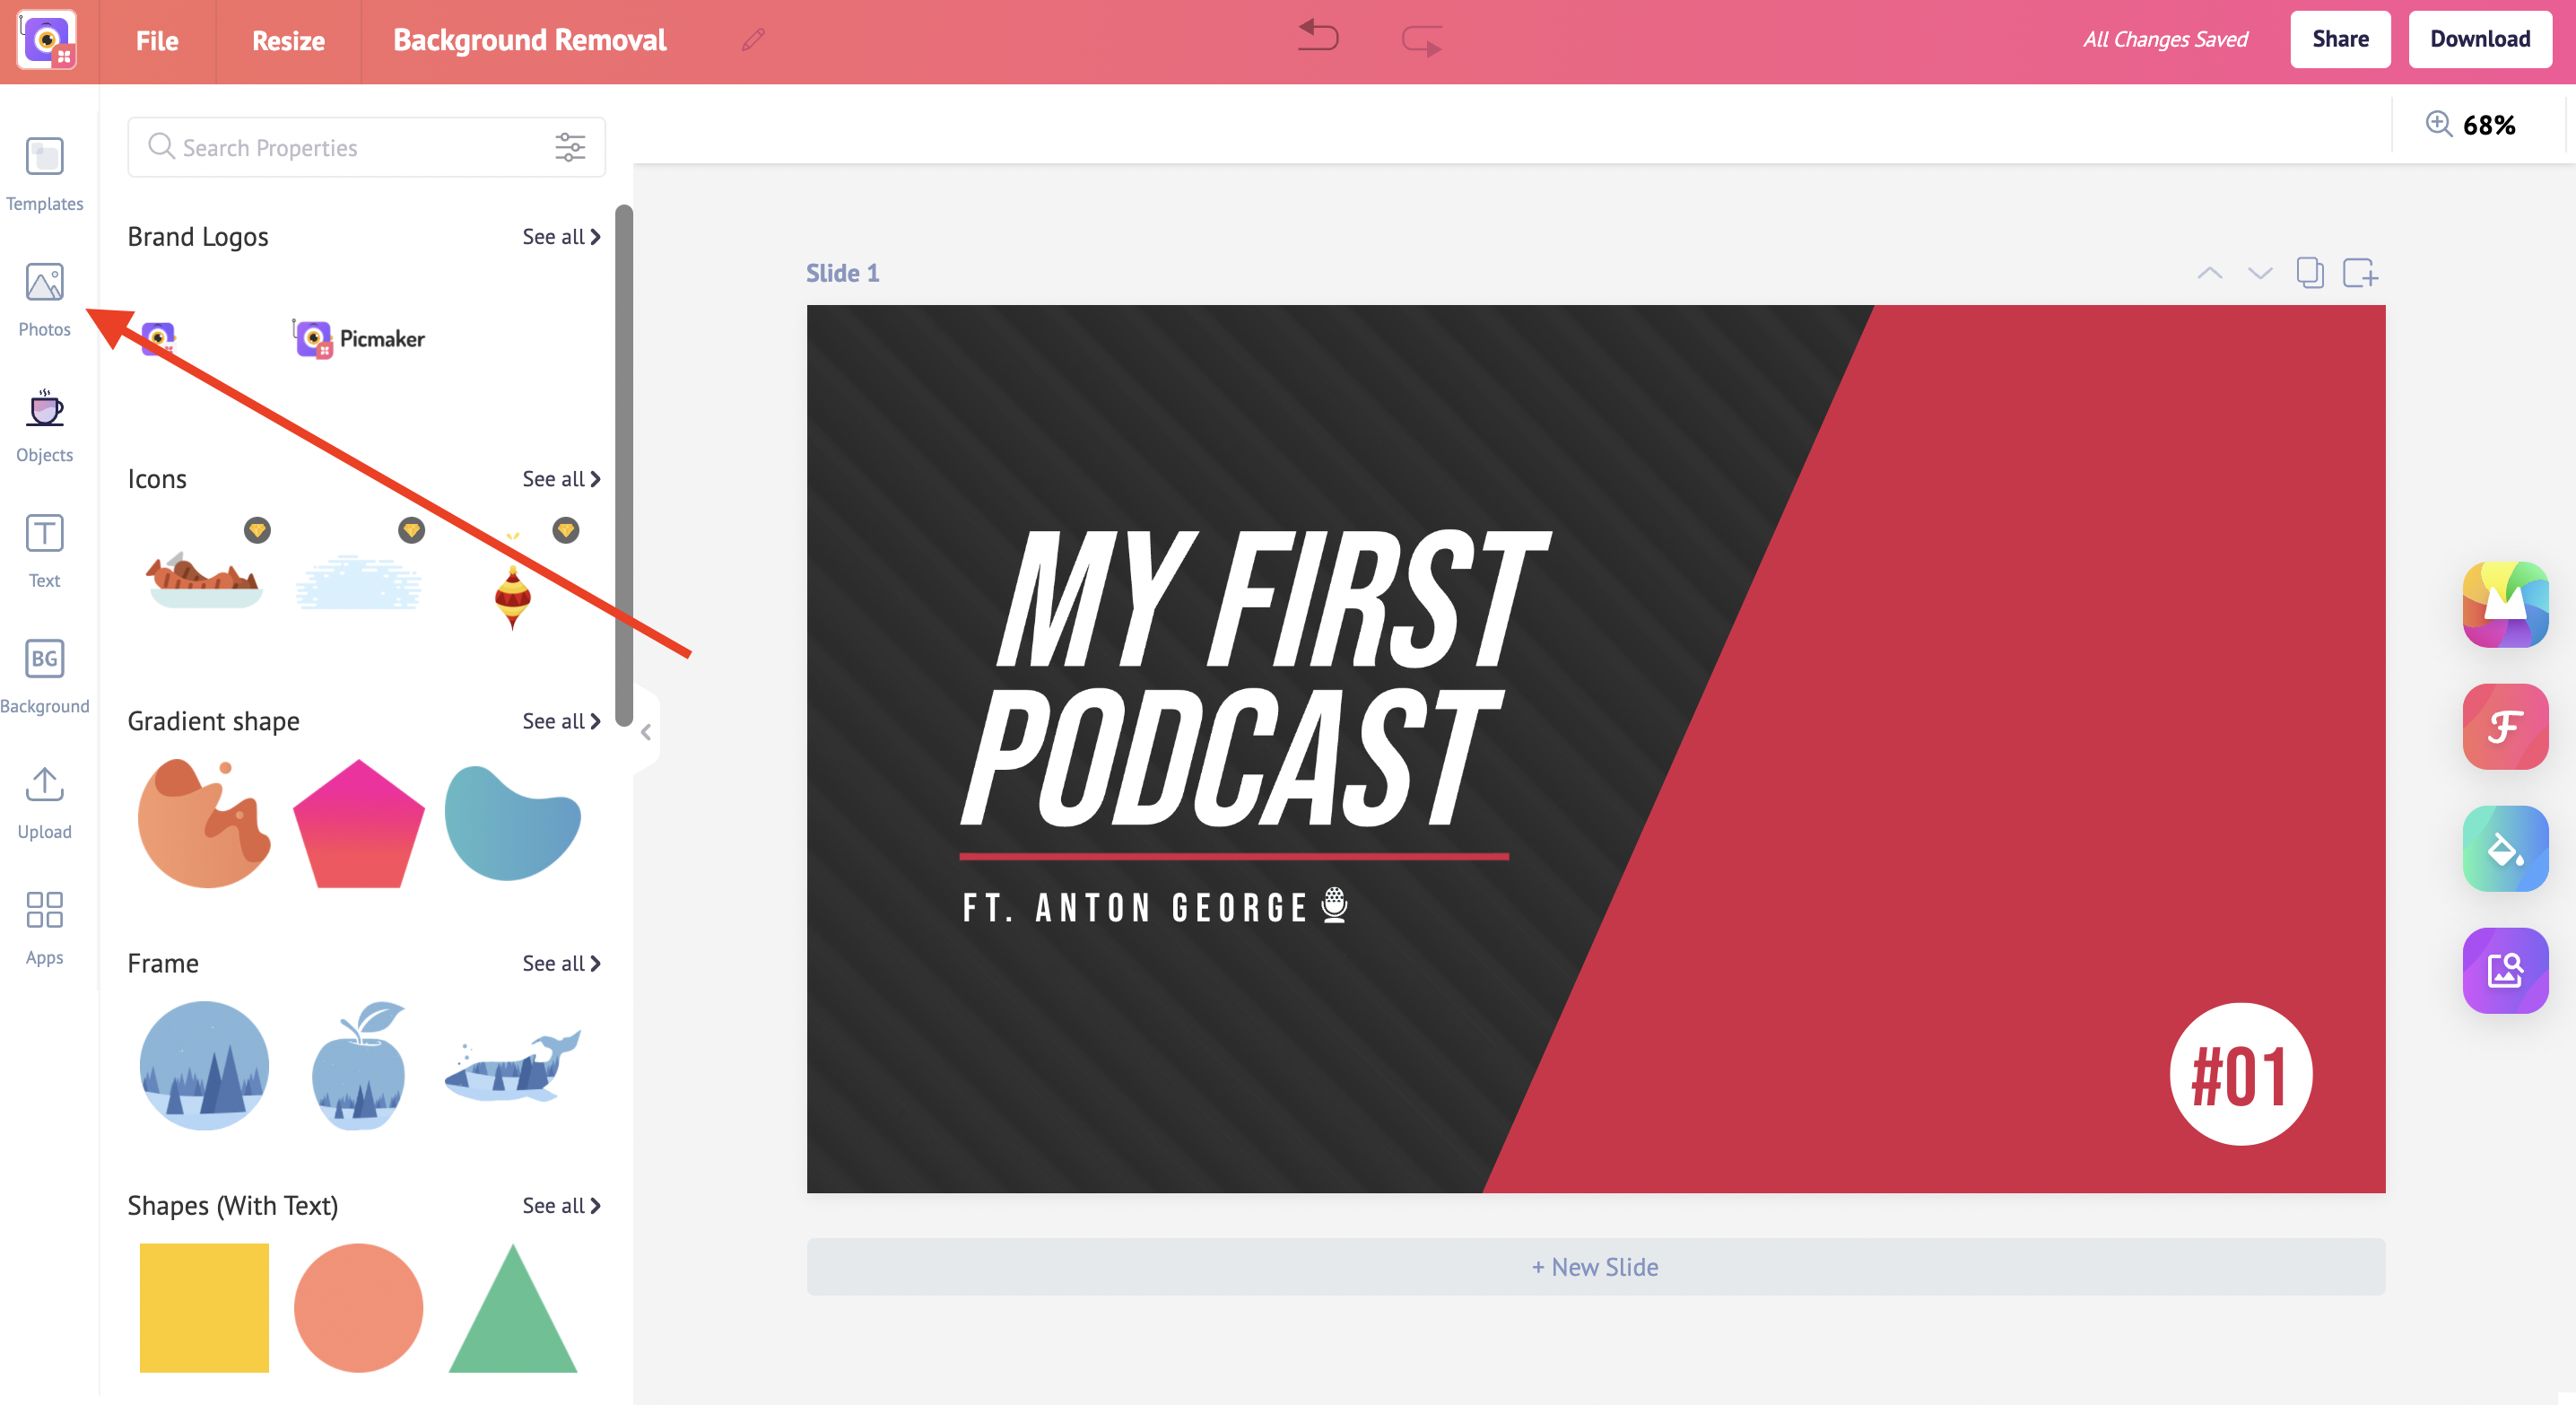
Remove background (for stock pictures)
If you want to remove your background from your stock pictures, click on the ‘pictures’ tab and search for the picture which fits your need. When you find a relevant picture, click on it to insert it onto your design canvas.
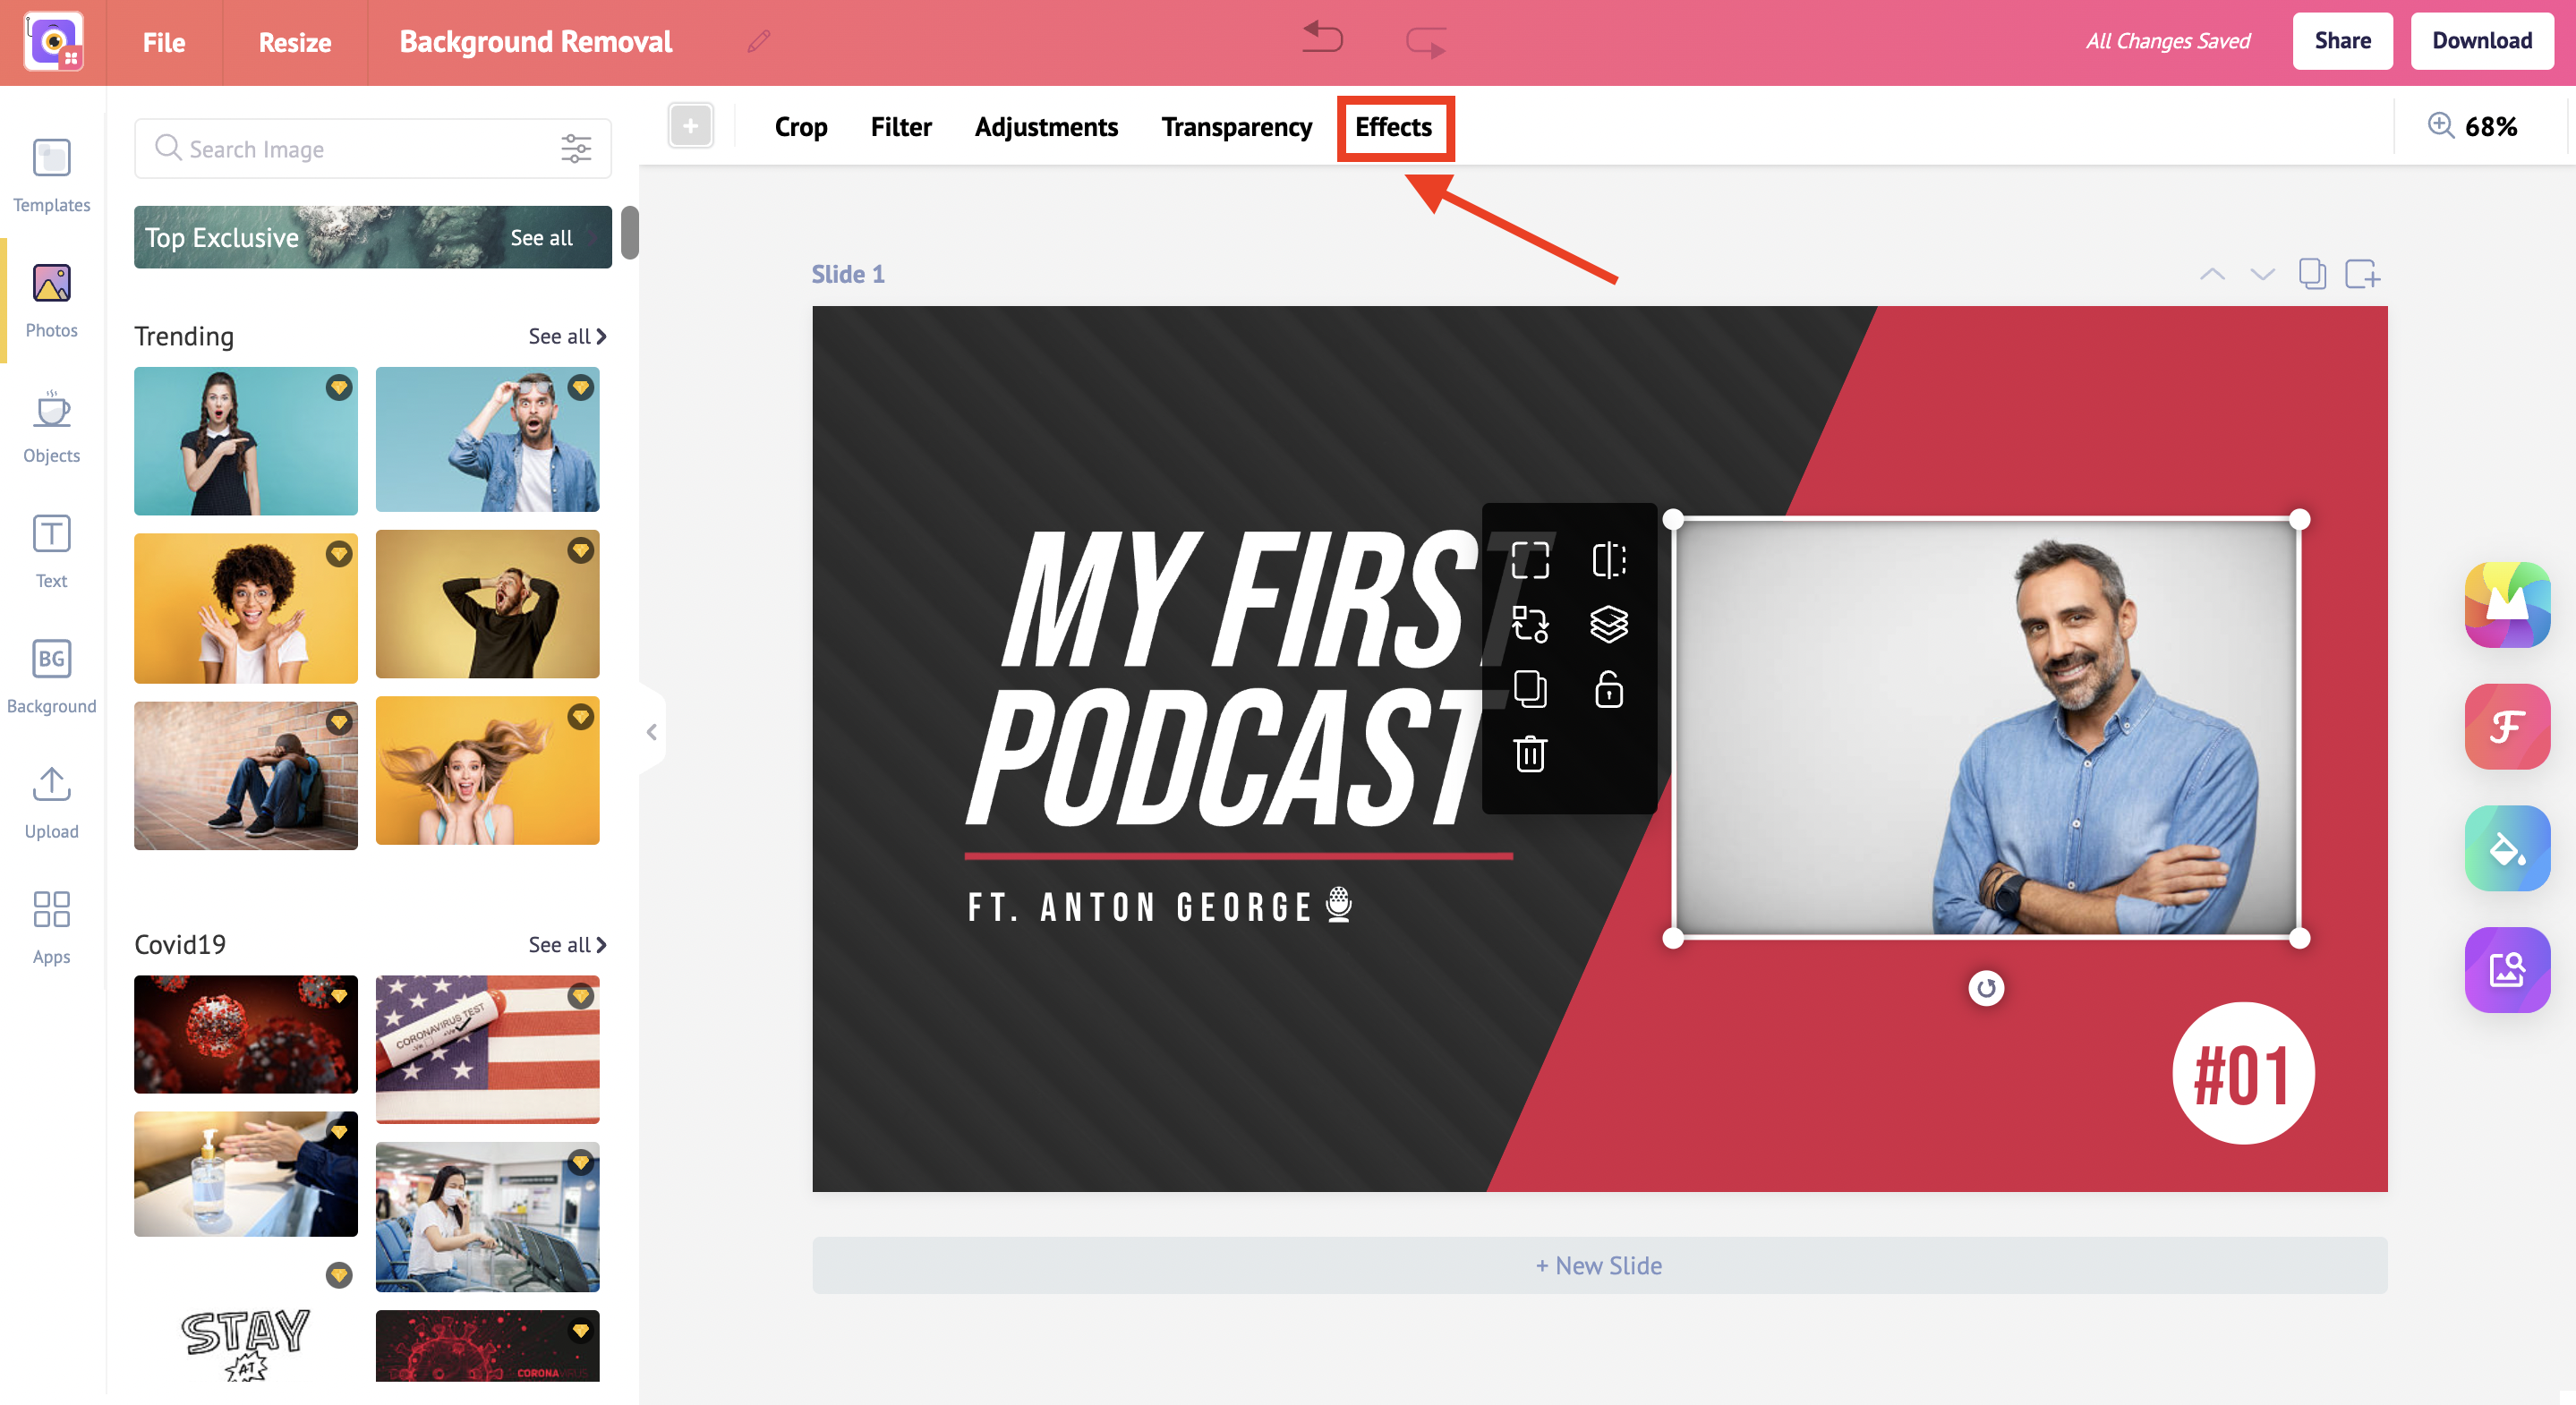
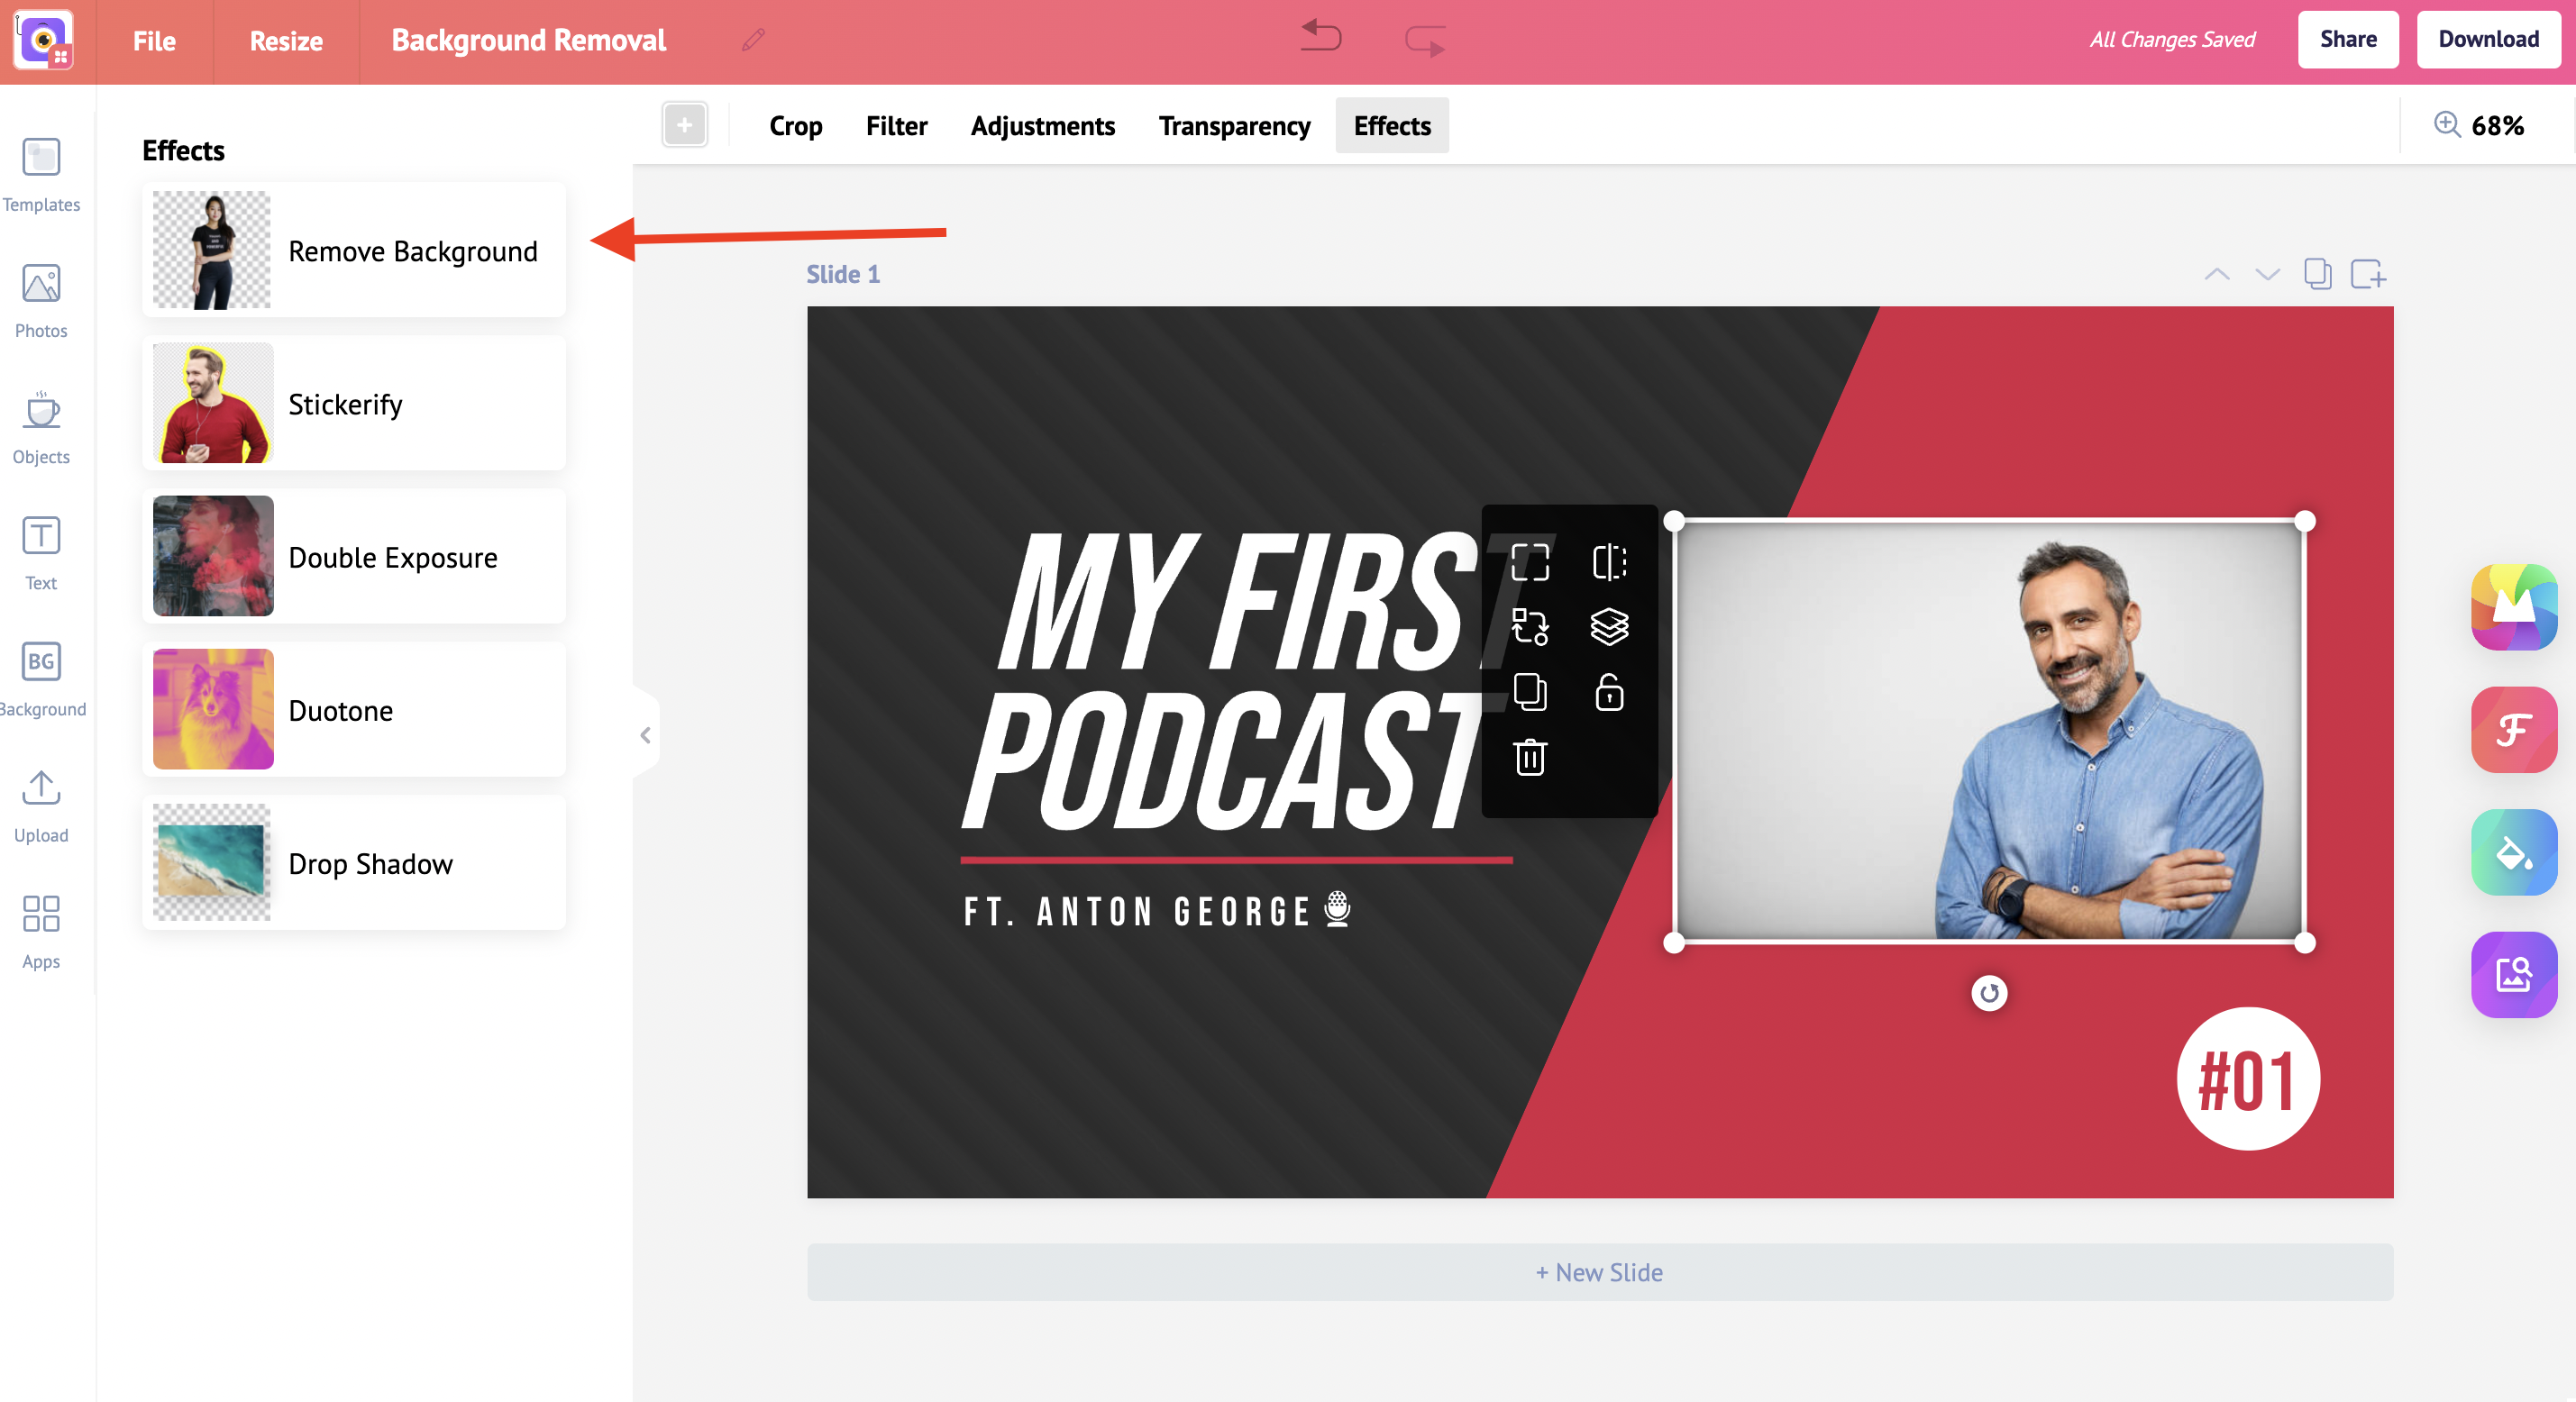
Effects
Once you’ve uploaded your picture to the design canvas, click on ‘effects’ on the picture toolbar at the top. This will enable the effects toolbar to pop up on the left side of your design canvas. Click on the ‘background remover’ tool from here.
Background remover
Our AI-based background remover will automatically select the humans and objects in the picture. But you can also check/uncheck boxes to retain or drop certain elements from the picture. Once you are satisfied with your selection, click on ‘next’.
Refine
Once the background has been removed, you will be taken to the refining tool. This will allow you to fine-tune your picture. You can add/ remove elements from your picture with a dedicated brush.
Click on the ‘Keep’ button, click and drag your mouse to retain those areas.
Click on the ‘Remove’ button, click and drag your mouse to erase those areas.
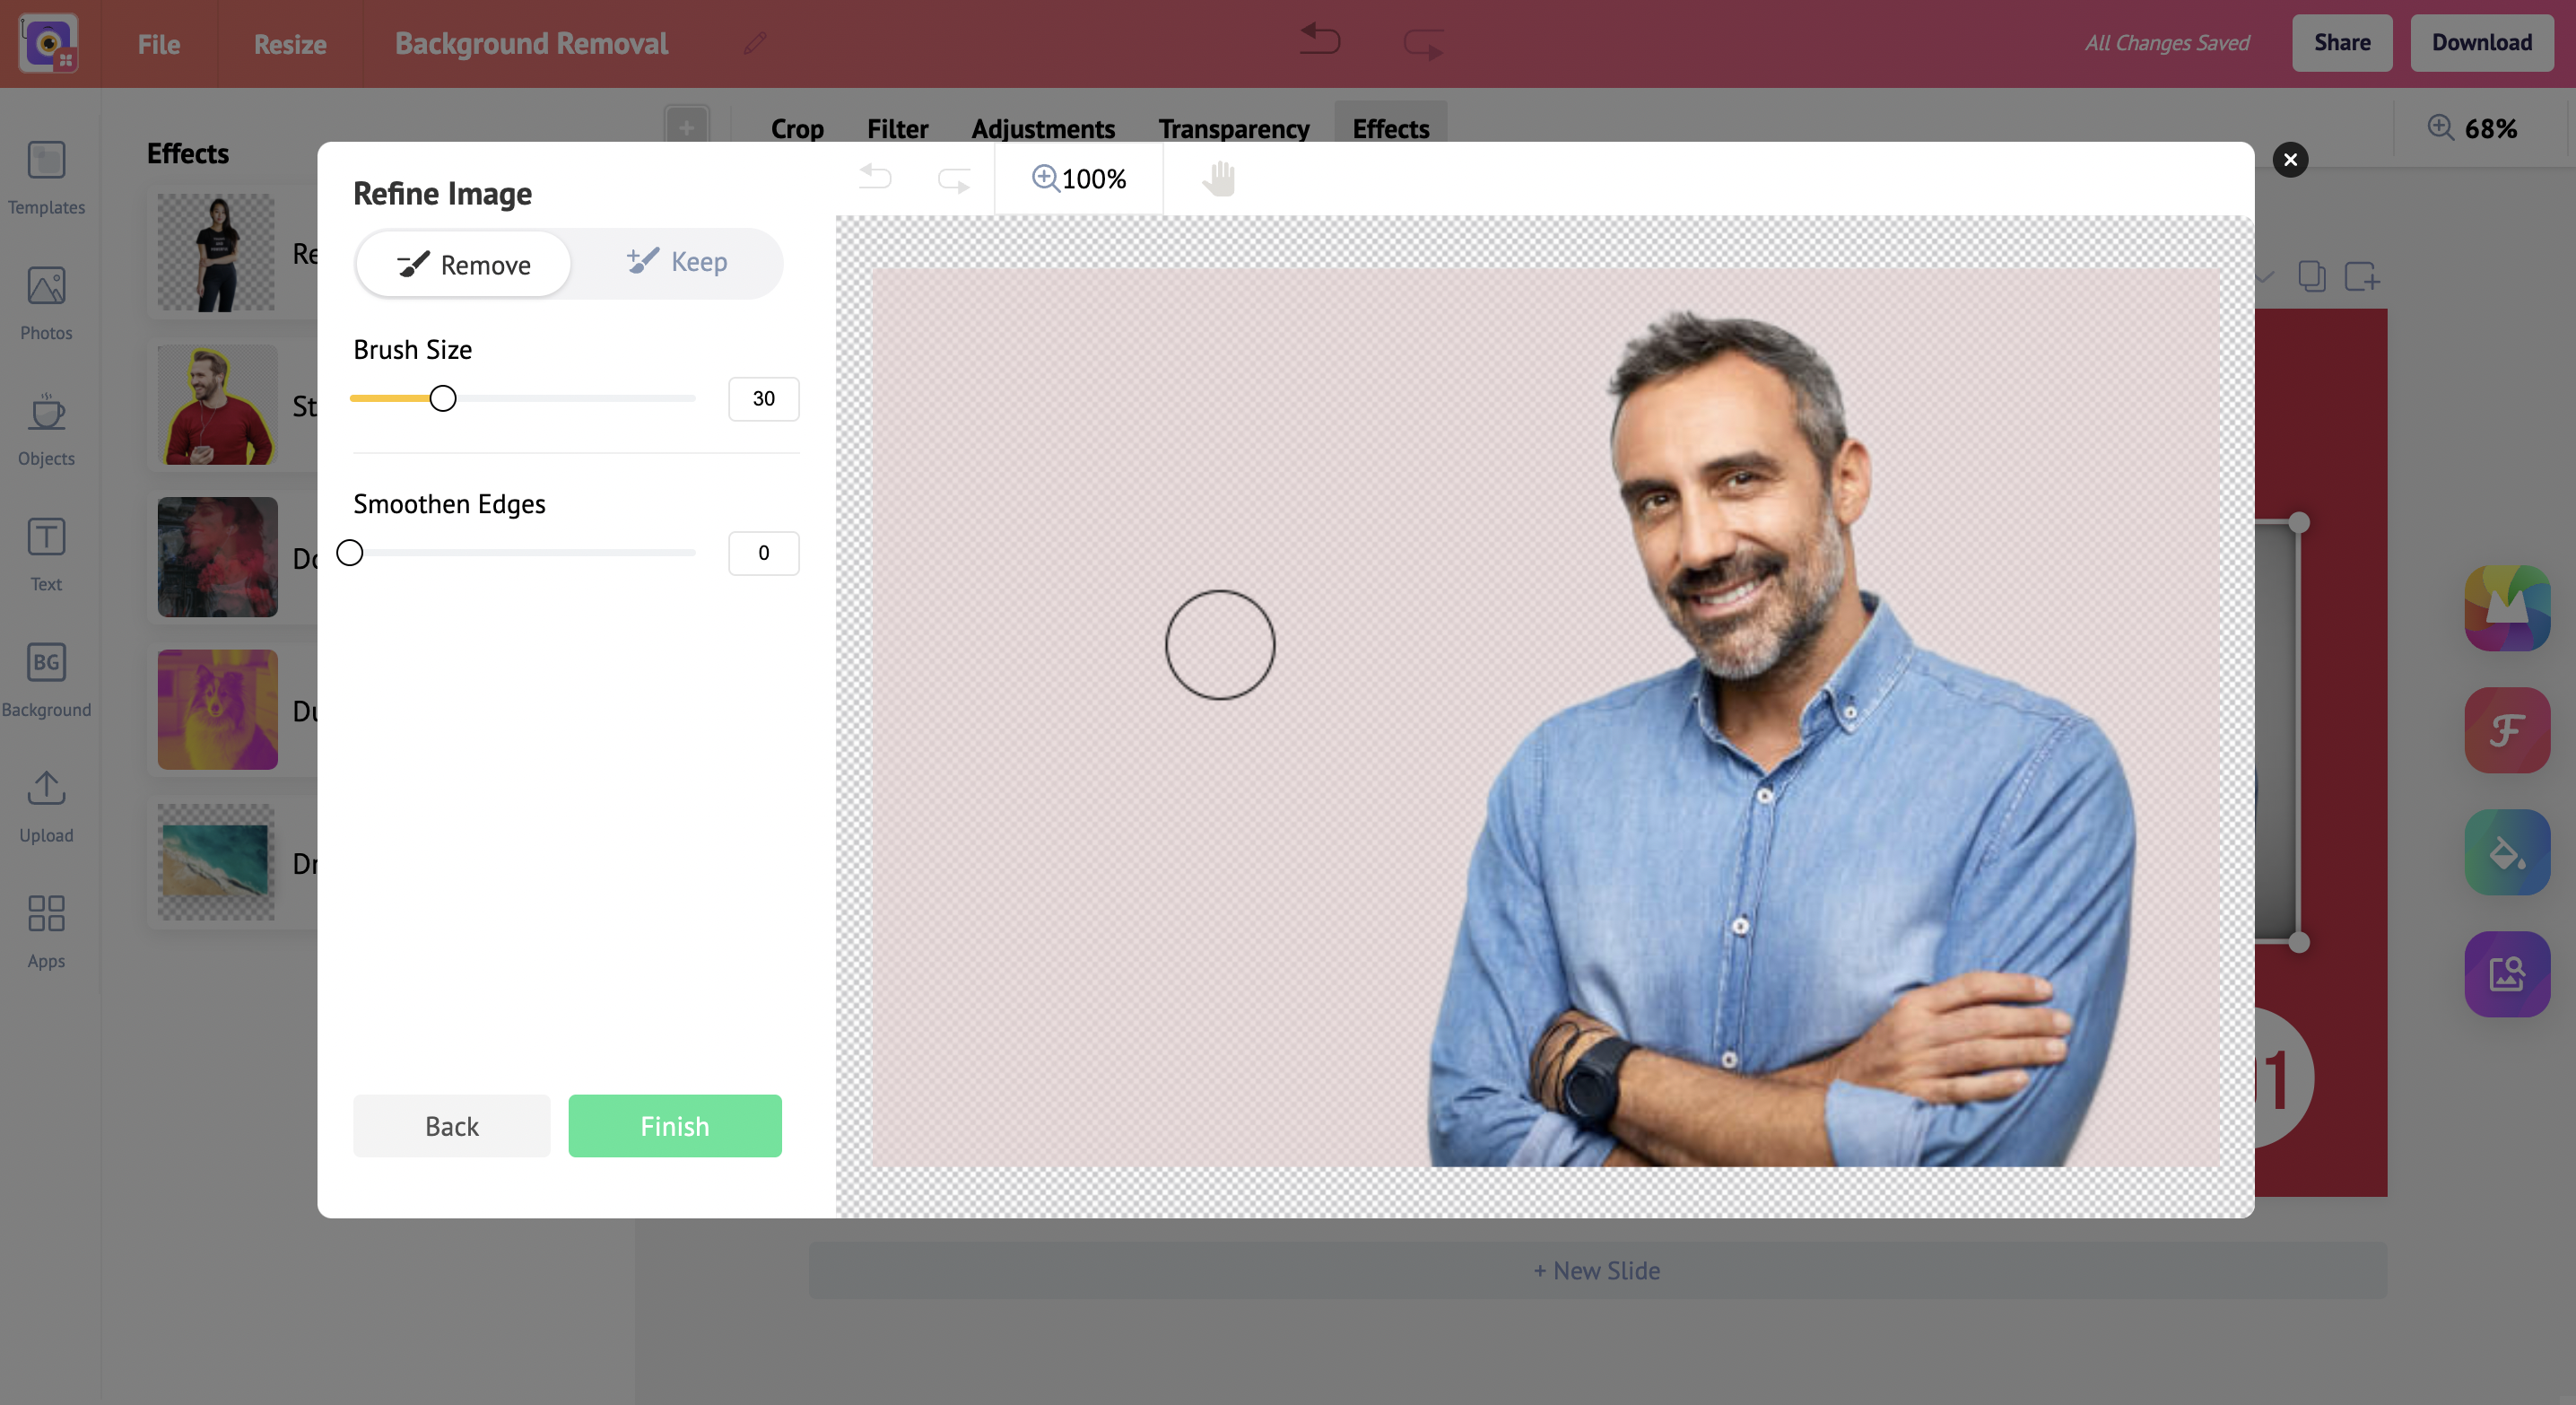
Finish
Once you are satisfied with the final result, click on ‘Finish’. You will now get your picture with its background removed.

Check out the below tutorials
Choose backgrounds that make your designs look stunning
"Picmaker is the best background remover," says a DIY gadget guru